
DIY Star Garland
Hey there! Please note that this post contains affiliate links. If you click through those links and make a purchase, I may earn a little commission - at no cost to you! It is one way that helps me to continue this blog and create inspiring, encouraging and supporting content for you!
A Fun and Simple Craft for Everyone
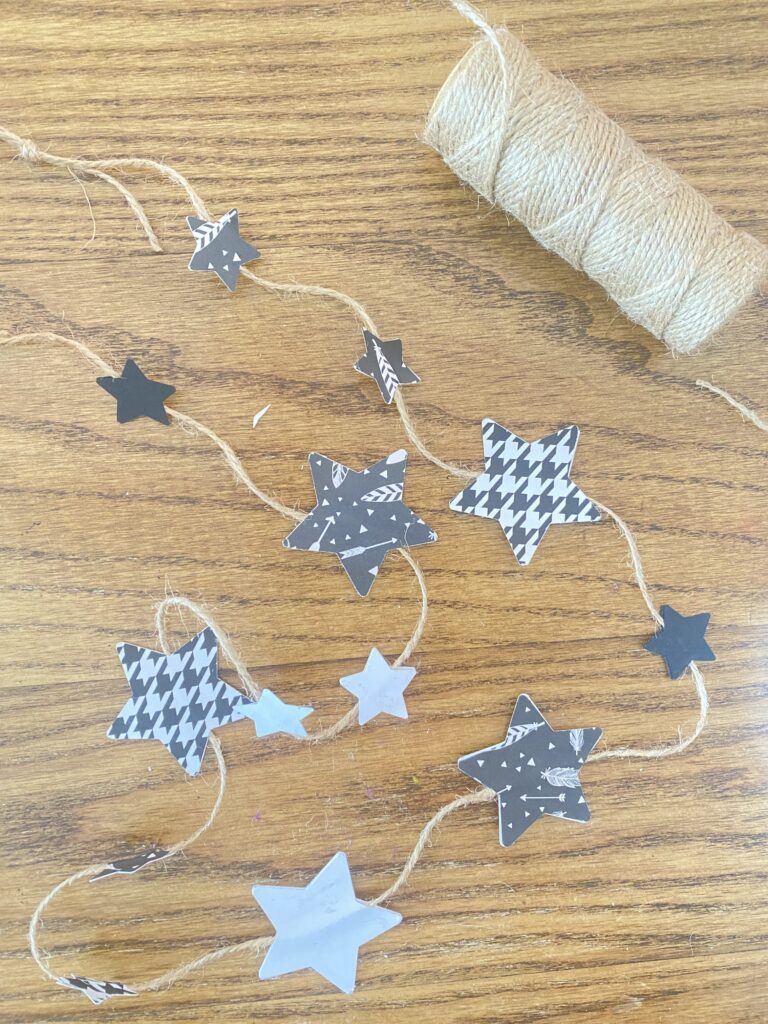
Add a little sparkle to your space with this DIY star garland! We created this fun project at a recent Mini Maker’s Workshop and it was a big hit. Whether you’re decorating for a celebration or simply looking for a fun project with the kiddos, this project is perfect for kids and adults alike. With endless variations, you can customize it to suit any season, occasion, or style. Before you jump right in, check out the supplies, directions AND the variations, as mentioned they are endless.
Supplies You’ll Need:
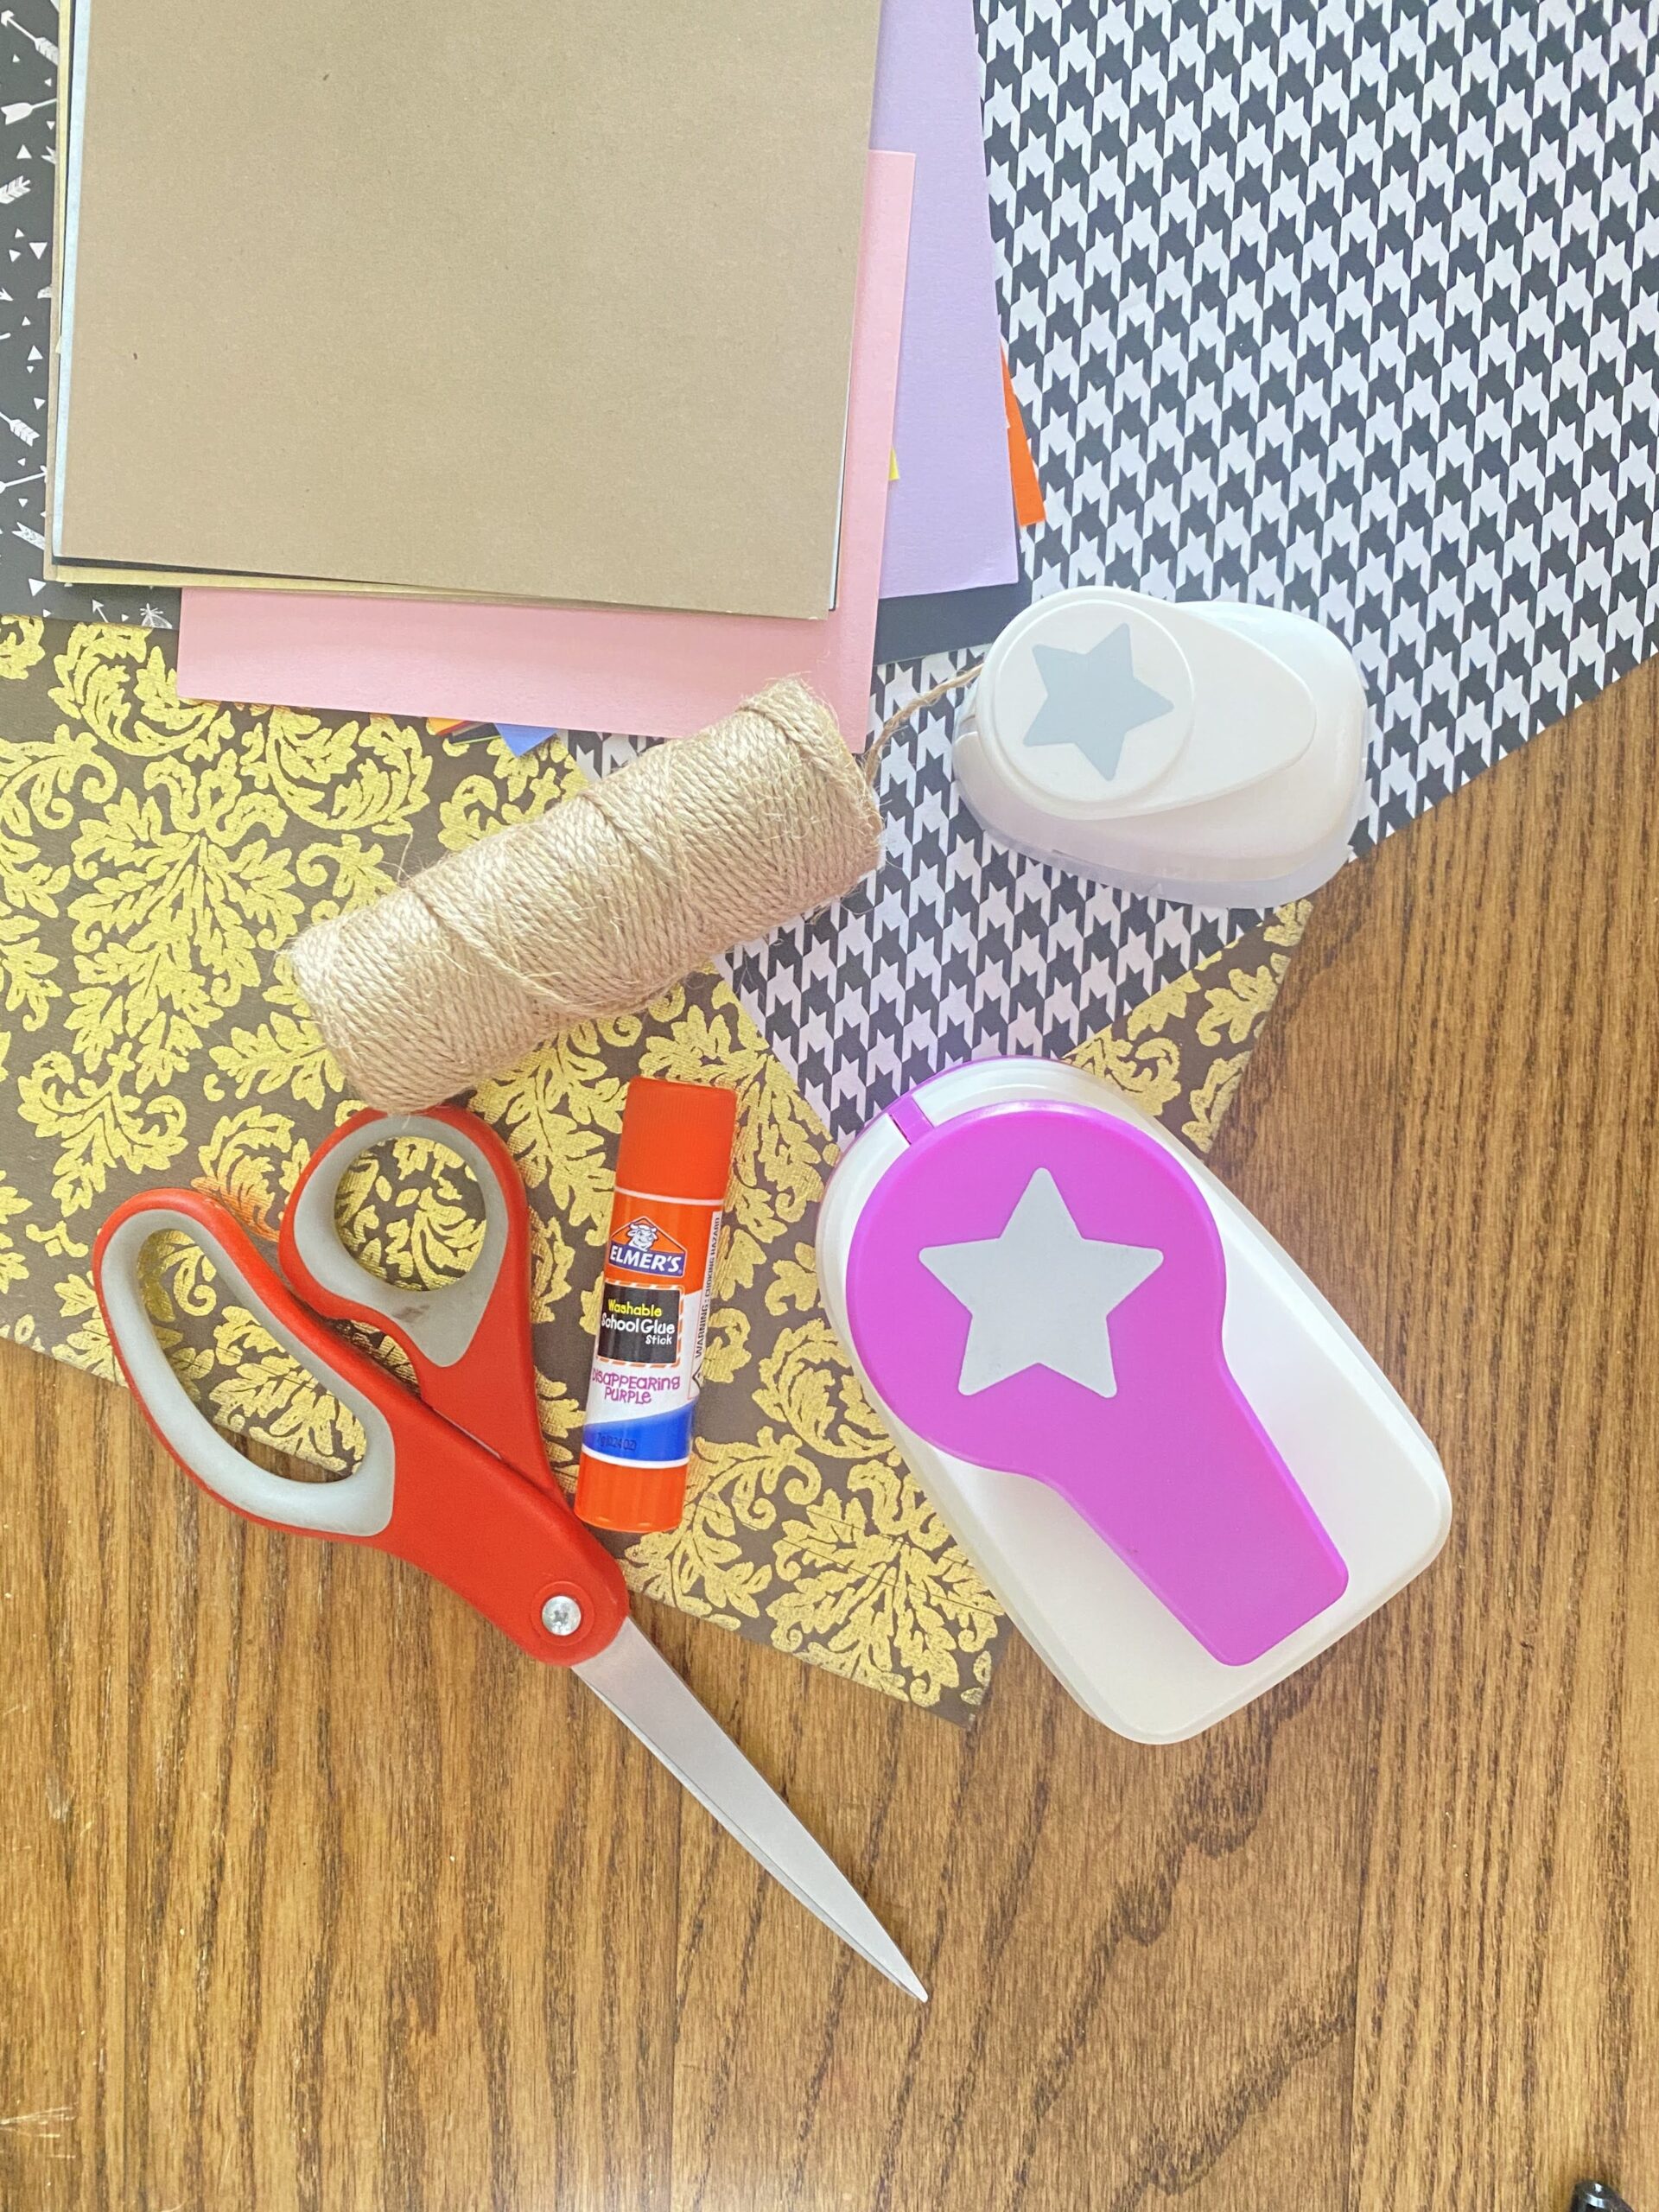
- Star Templates: Printable star outlines (FREE template below!), a star-shaped cookie cutter or a star punch. I have a large one and a smaller size for projects. The star punch speeds the cutting portion, but not required.
- Cardstock or Felt: Any color or pattern of your choice, your options are endless. Paper with gold foil is a fun addition, it was the group favorite at Mini Makers. If using felt you will want to use scissors and templates, rather than the punch.
- String or Twine: Cotton twine, jute twine, or metallic thread, another selection where the options are endless.
- Adhesive: Double-sided tape, or glue, Elmer’s Glue continues to meet our needs.
- Scissors: For cutting out stars if not using a punch and
- Decorative Elements (Optional): Glitter, paint, markers, stickers, or beads
Steps to Create Your Star Garland:
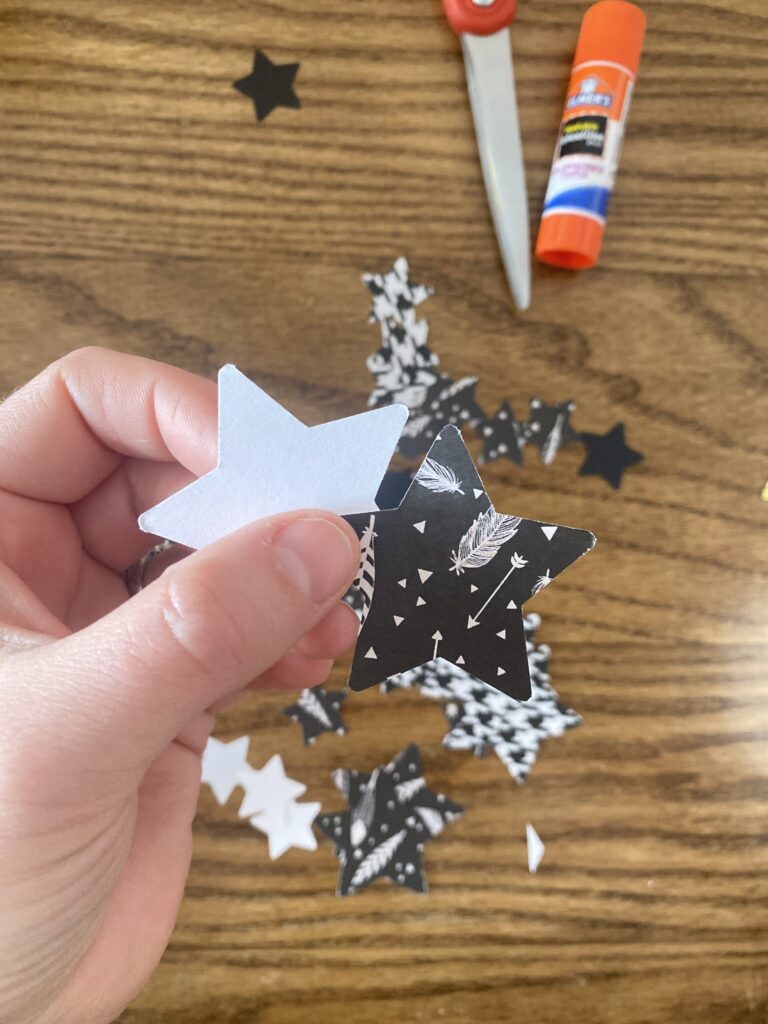
1. Prepare Your Stars
- Print or trace your star template onto cardstock, felt or the material of your choice.
- Cut out the stars carefully.
- For added dimension, cut stars in multiple sizes.
- Or use your star punch to cut out stars.
- You will want an even number of stars.

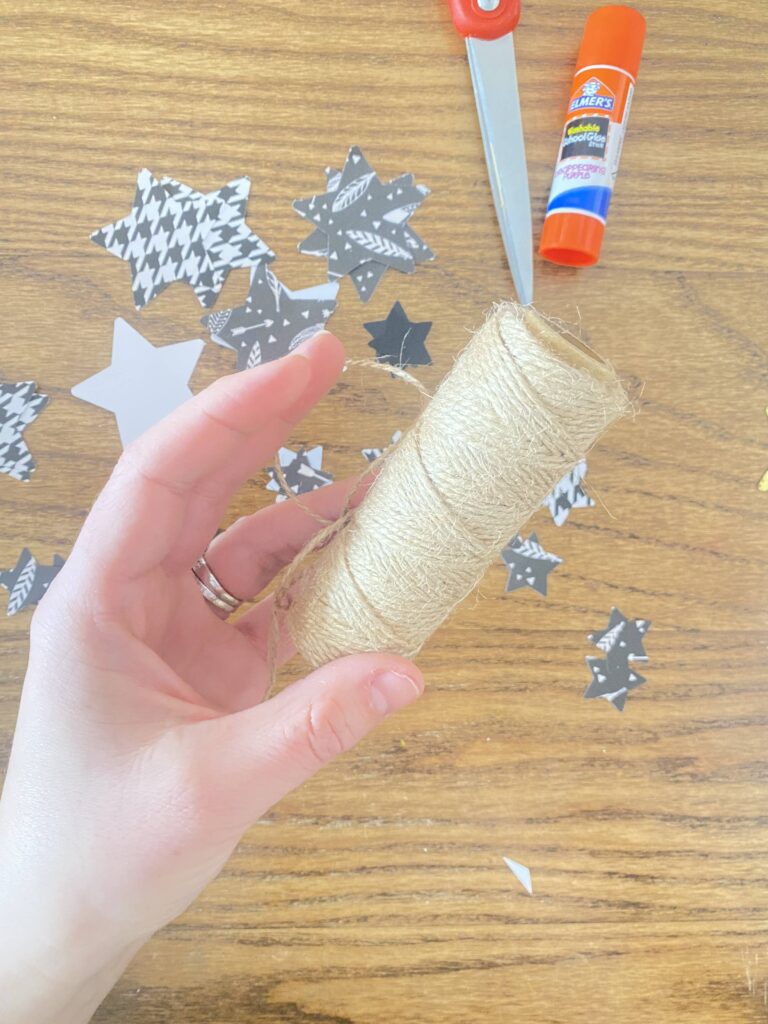
2. Assemble the Garland
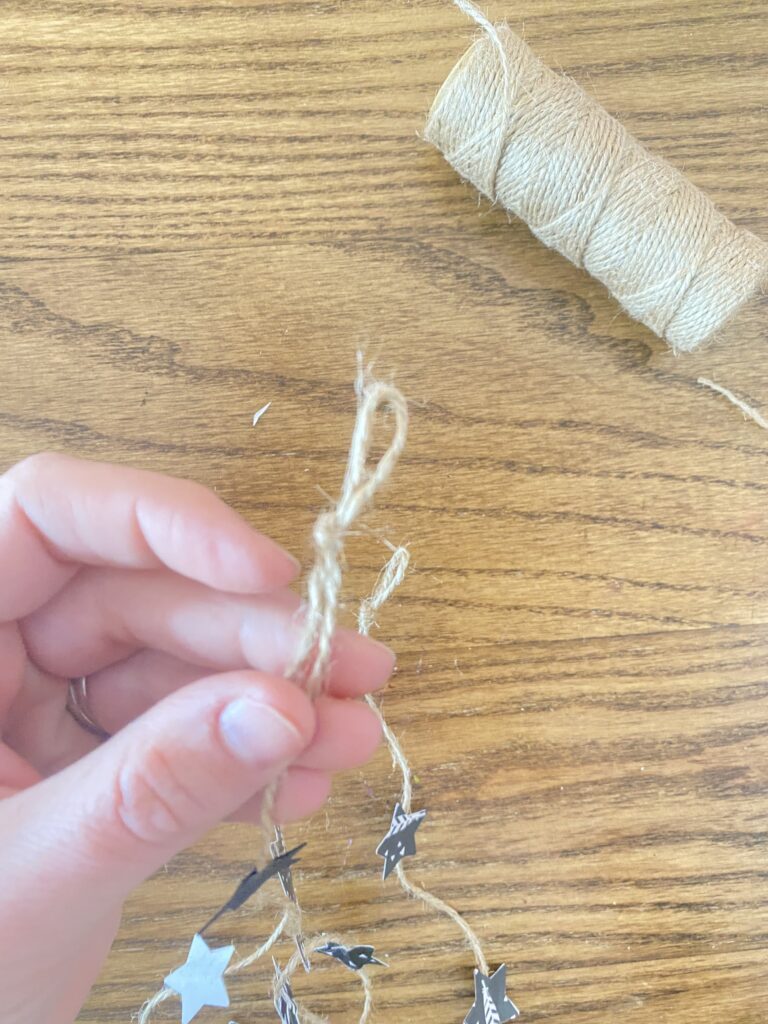
- Cut your twine/string to the desired length, leaving extra on the ends for hanging.
- Tie a loop at each end of the string. This ensures you have a hanging loop before you start gluing too close to the end.

- Glue, or tape, stars to your string. Rub glue on one side of paper, place strong on glued side of paper or felt, add a little glue to top paper and place together. Creating a string sandwich.
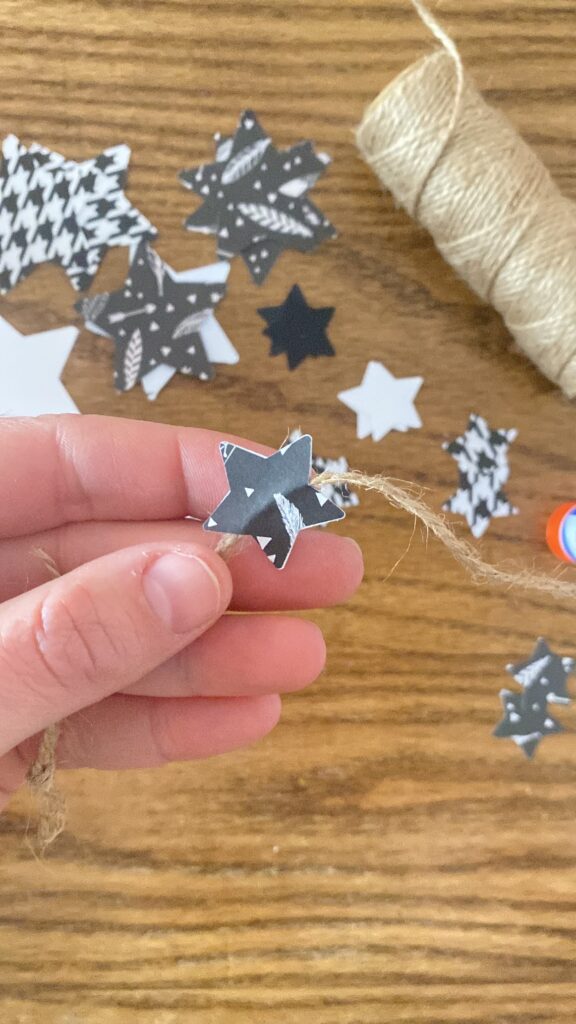

- Space them evenly, or bunch them together for a clustered look.
- Continue to glue stars on your garland.
3. Decorate Your Stars (optional) Depending on the look you are going for and the paper you used in step 1, you can add extra shine to your stars.
- Allow any glue or paint to dry completely before moving to the next step.
- Add glitter, paint, or stickers to make your stars shine.
- If using layered stars, adhere a smaller star on top of a larger one for a 3D effect.
- Add words or drawings for a special touch.
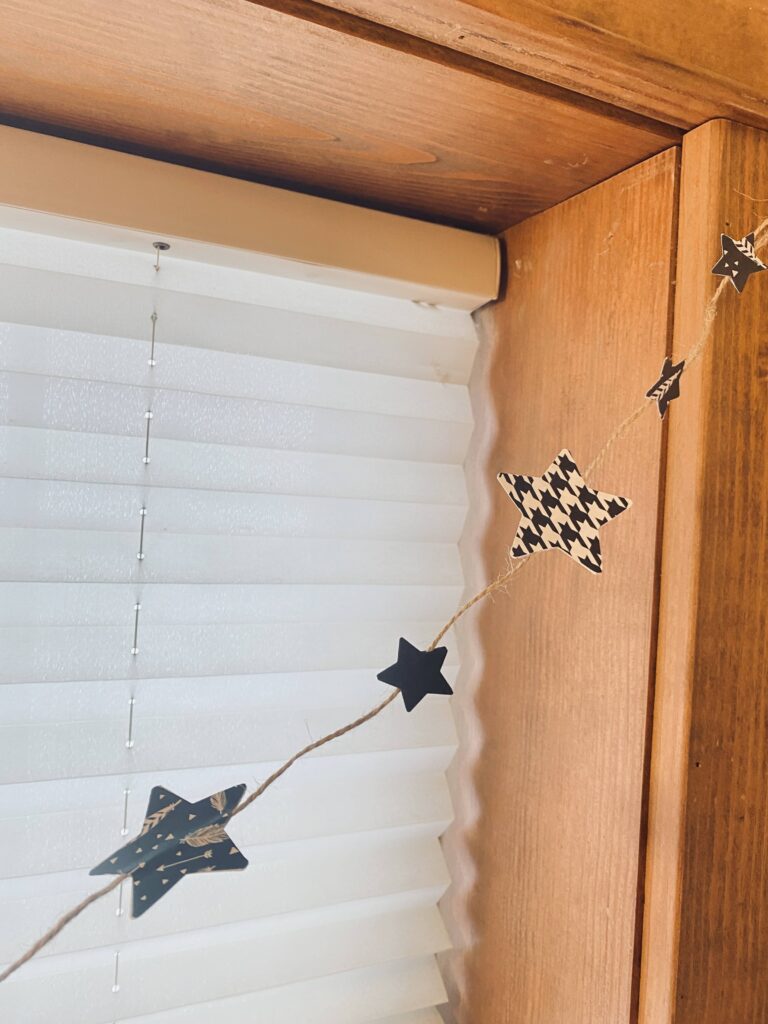
4. Hang and Enjoy
- Use tape, push pins, or hooks to hang your garland wherever you want to add a little magic to your space.
Variations to Try:
- Seasonal Themes
- Winter: Use white and silver stars, add glitter, or include snowflake shapes.
- Fall: Try warm-colored cardstock or felt in reds, oranges, and golds.
- Spring: Incorporate pastel colors or floral patterns.
- Occasions
- Birthday Party: Use brightly colored or metallic cardstock. I am also thinking this will be a fun way to repurpose birthday cards! A great way to preserve memories while adding a personal touch to your decorations.
- Holiday Decor: Add miniature bells or beads between the stars, and just like the birthday cards, give Christmas cards a new way to show off for years to come.
- Weddings: I am picturing old book pages for a vintage feel shower or wedding.
- Interactive Fun for Kids
- Let kids decorate their stars with washable markers or stickers.
- Use glow-in-the-dark paint for stars that light up at night.
- Material Swaps
- Use recycled materials like cereal boxes, old book pages, magazines or greetings cards.
- Incorporate fabric scraps for a softer look.
- Add Ons
- Add beads, or charms.
- Hang the stars like a swag rather than garland.
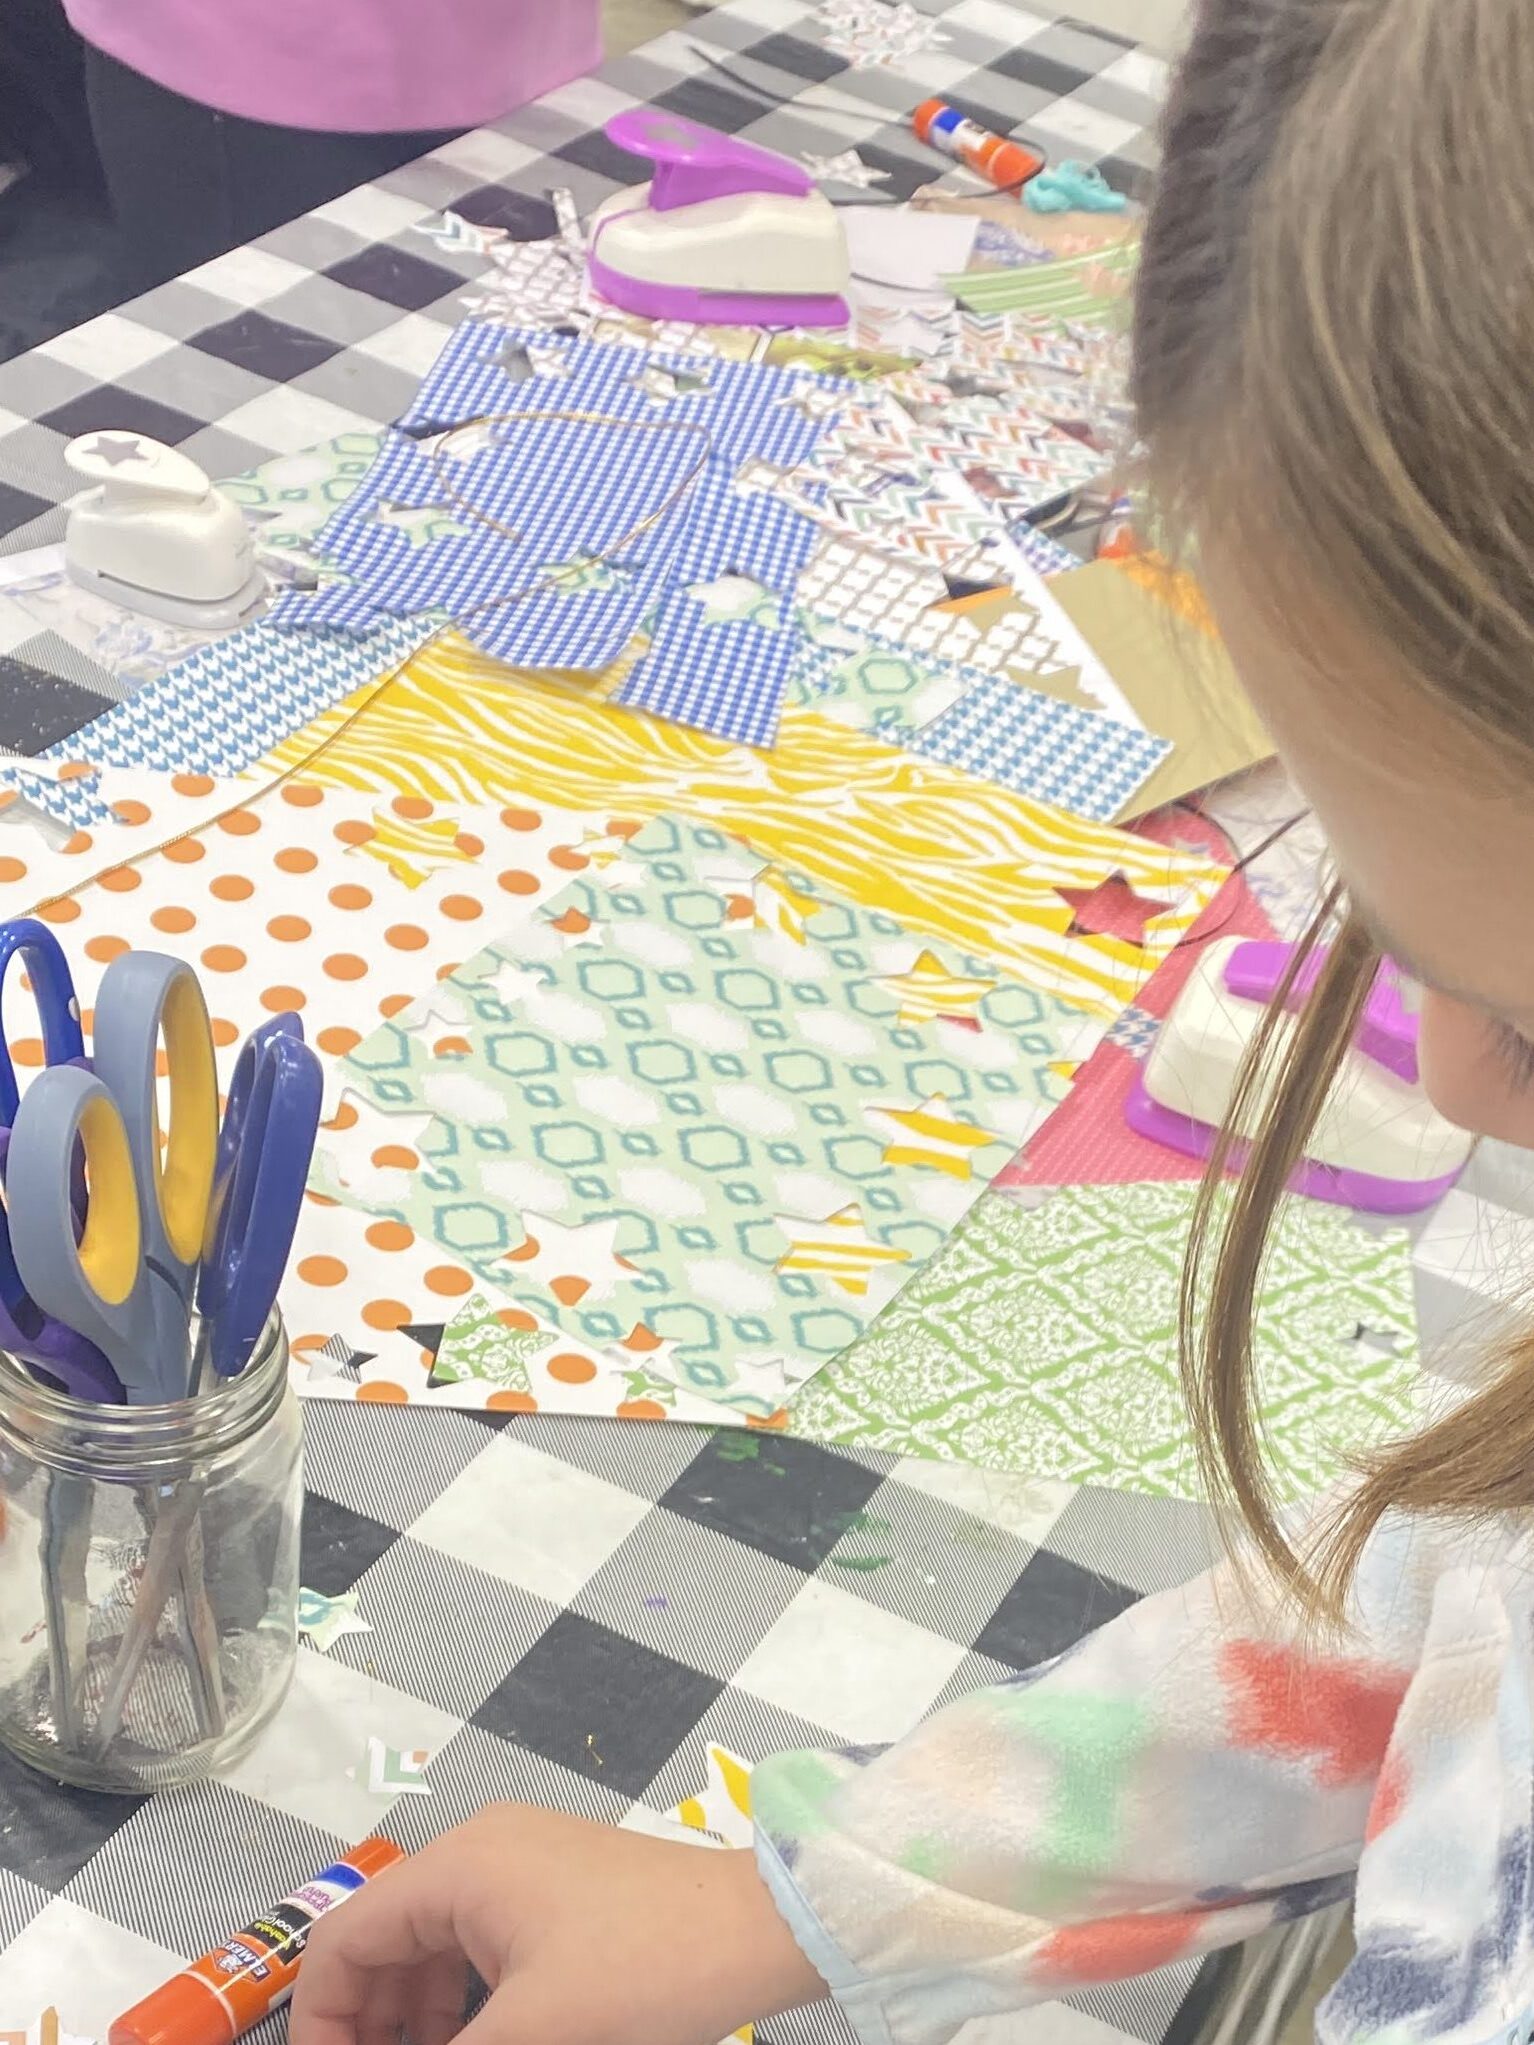
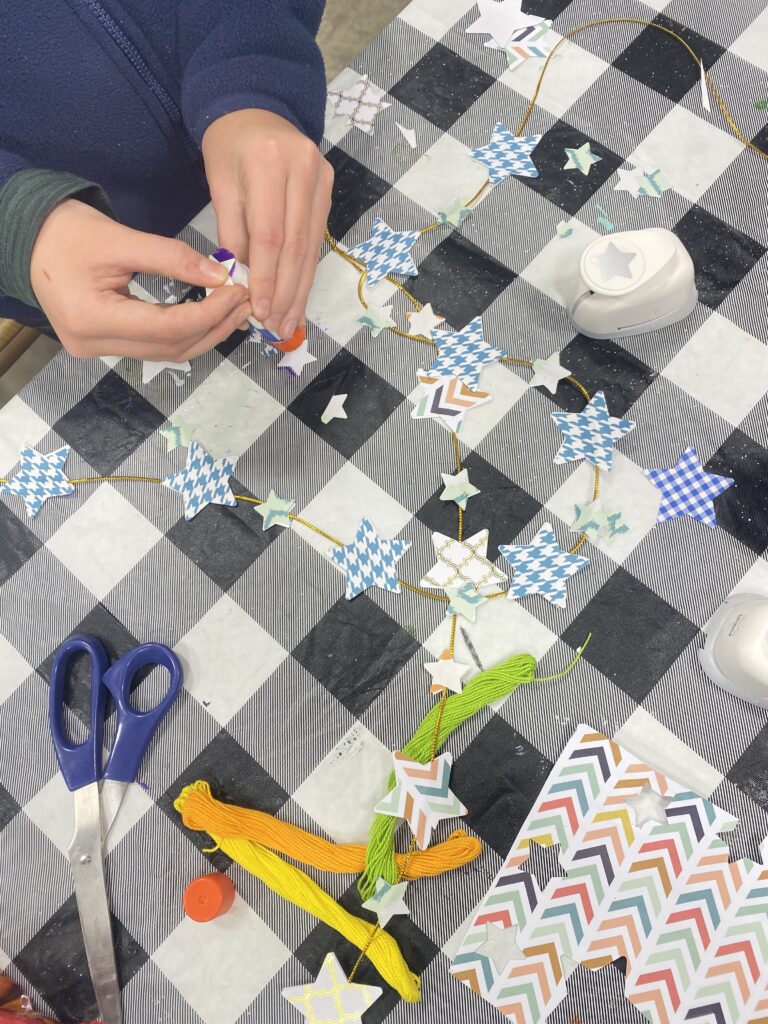
Here are a few from our Mini Maker’s Workshop!
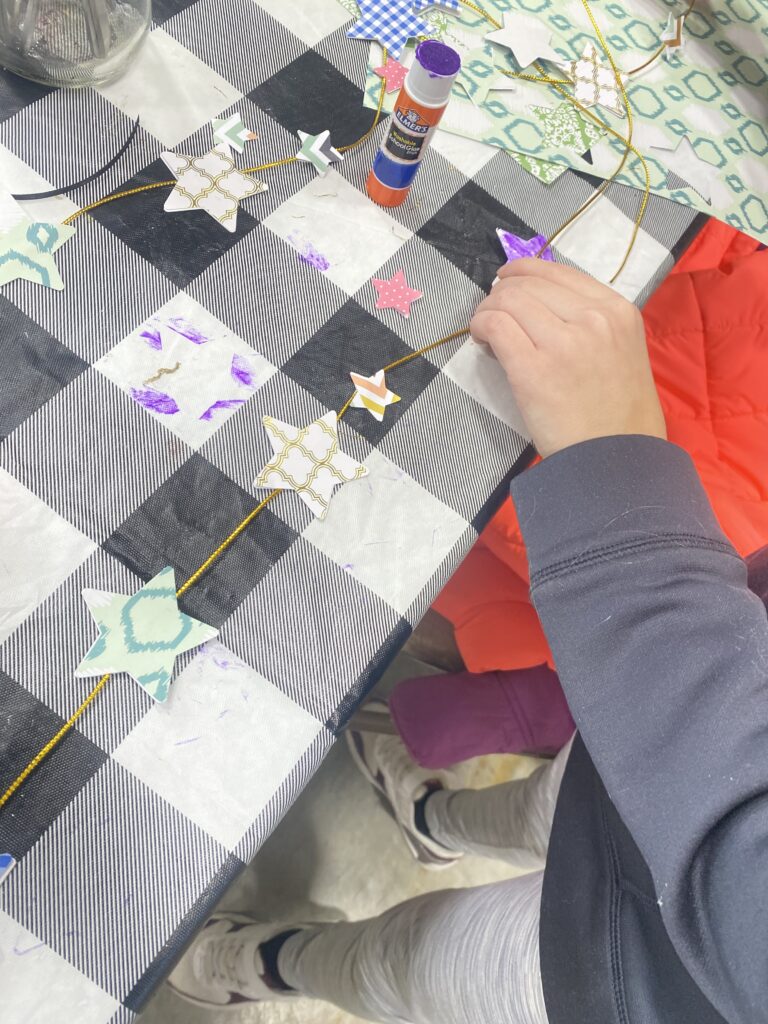
This DIY star garland is the perfect blend of creativity and simplicity, offering endless possibilities to personalize your space. I love that you can buy some fun add-ons and new craft supplies to create with OR you can complete this project with the items you already have at home.
Whether you’re crafting with kids or enjoying a solo project, this garland is sure to bring joy and a little star shine to your home.
Have fun exploring the variations, and don’t forget to share your creations on social media! Tag me so I can see how you’ve made this project your own.


PLEASE COMMENT BELOW