Getting Started with Clay: Fun Projects & Tips
Hey there! Please note that this post contains affiliate links. If you click through those links and make a purchase, I may earn a little commission - at no cost to you! It is one way that helps me to continue this blog and create inspiring, encouraging and supporting content for you!

I’m no expert, but through my own projects and Mini Maker Workshops, I’ve discovered a few favorite tools, techniques, and go-to supplies when it comes to working with clay. Whether you’re trying it for the first time or looking for new ideas, here are my top recommendations for making the most of your clay creations!
Best Clays to Use
There are so many types of clay, but these two have become my favorites:
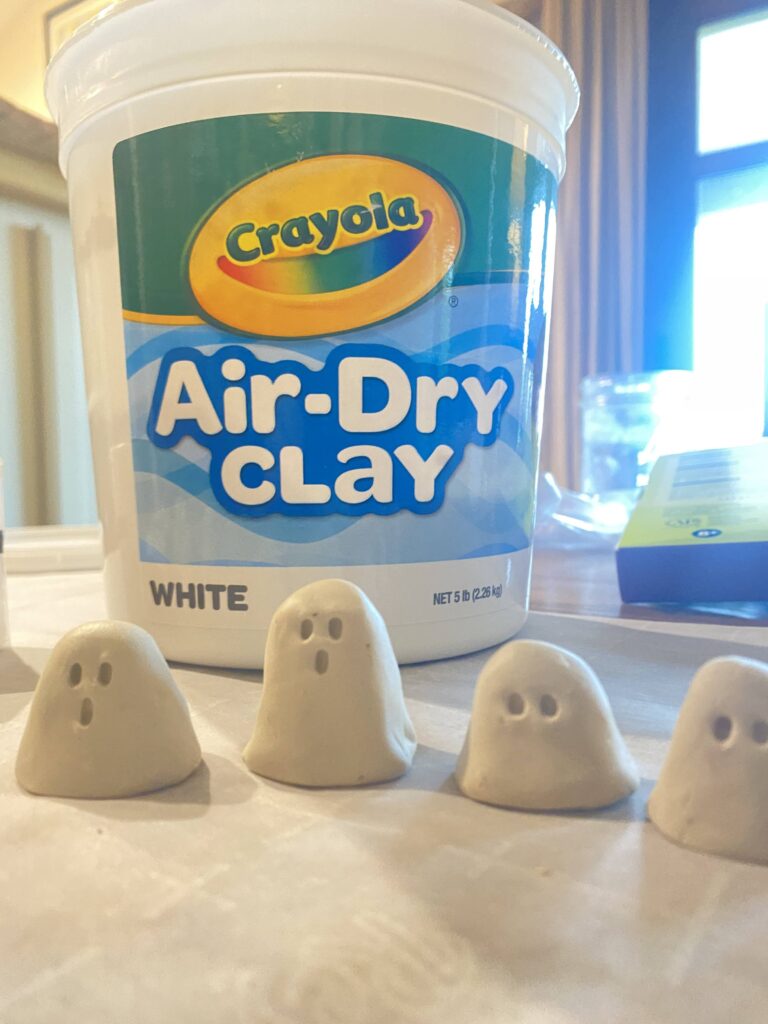
✨ Crayola Air-Dry Clay – A great beginner-friendly option. It’s soft, easy to work with, and dries over time (or you can bake it… I have a trick below).
✨ Sculpey Polymer Clay – This one needs to be baked to harden, but it’s perfect for detailed projects and holds its shape well. (Even my 10 year old will agree.)
Baking Air-Dry Clay? Yep!
As I mentioned I bake my air dry clay! If you need to speed up the drying process, place your piece on parchment paper and bake at 200°F for about an hour (adjusting for thickness). It may feel a little soft when it comes out, but as it continues to dry, it will harden fully.
Workspace Setup
- Use parchment paper as a workspace—it keeps things from sticking and makes for an easy cleanup.
- The same parchment sheet can be used for baking, or…
- Save used parchment for the next project. The ones we’ve used in Mini Makers have lasted three sessions before needing to be replaced!
Clay Tools: Anything Goes!
You don’t need fancy tools—everyday items work just as well!
✔ Toothpicks
✔ Pencils
✔ Nails
✔ Butter knives
✔ Stamps & textured fabrics (for fun designs!)
Painting & Sealing Clay Creations
Painting clay is one of the best parts! We’ve experimented with all kinds of paints, but I recently added Sharpie Magic Paint Markers to our supplies—and I may never go back to anything else!
🎨 Why I love them:
- Incredible coverage on clay
- Easy to use, even for little hands
- And for non clay projects… No bleeding through paper! I don’t understand how it works but I love it!
One of our Mini Makers even said, “These are so satisfying!” Referring to their smooth coverage and color. 😆
Sealer: Depending on the project, you may or may not need a sealant. I’ve used Clay Glaze, and it works great! I haven’t compared others yet, but this one has done the job. Sometimes I use it for sealing purposes (avoiding water damage) but I also like the finish it gives.
Mini Clay Projects to Try!

Between our Mini Maker’s Workshops and our own home projects making miniatures have been the most loved, and these have been some of their favorite projects:
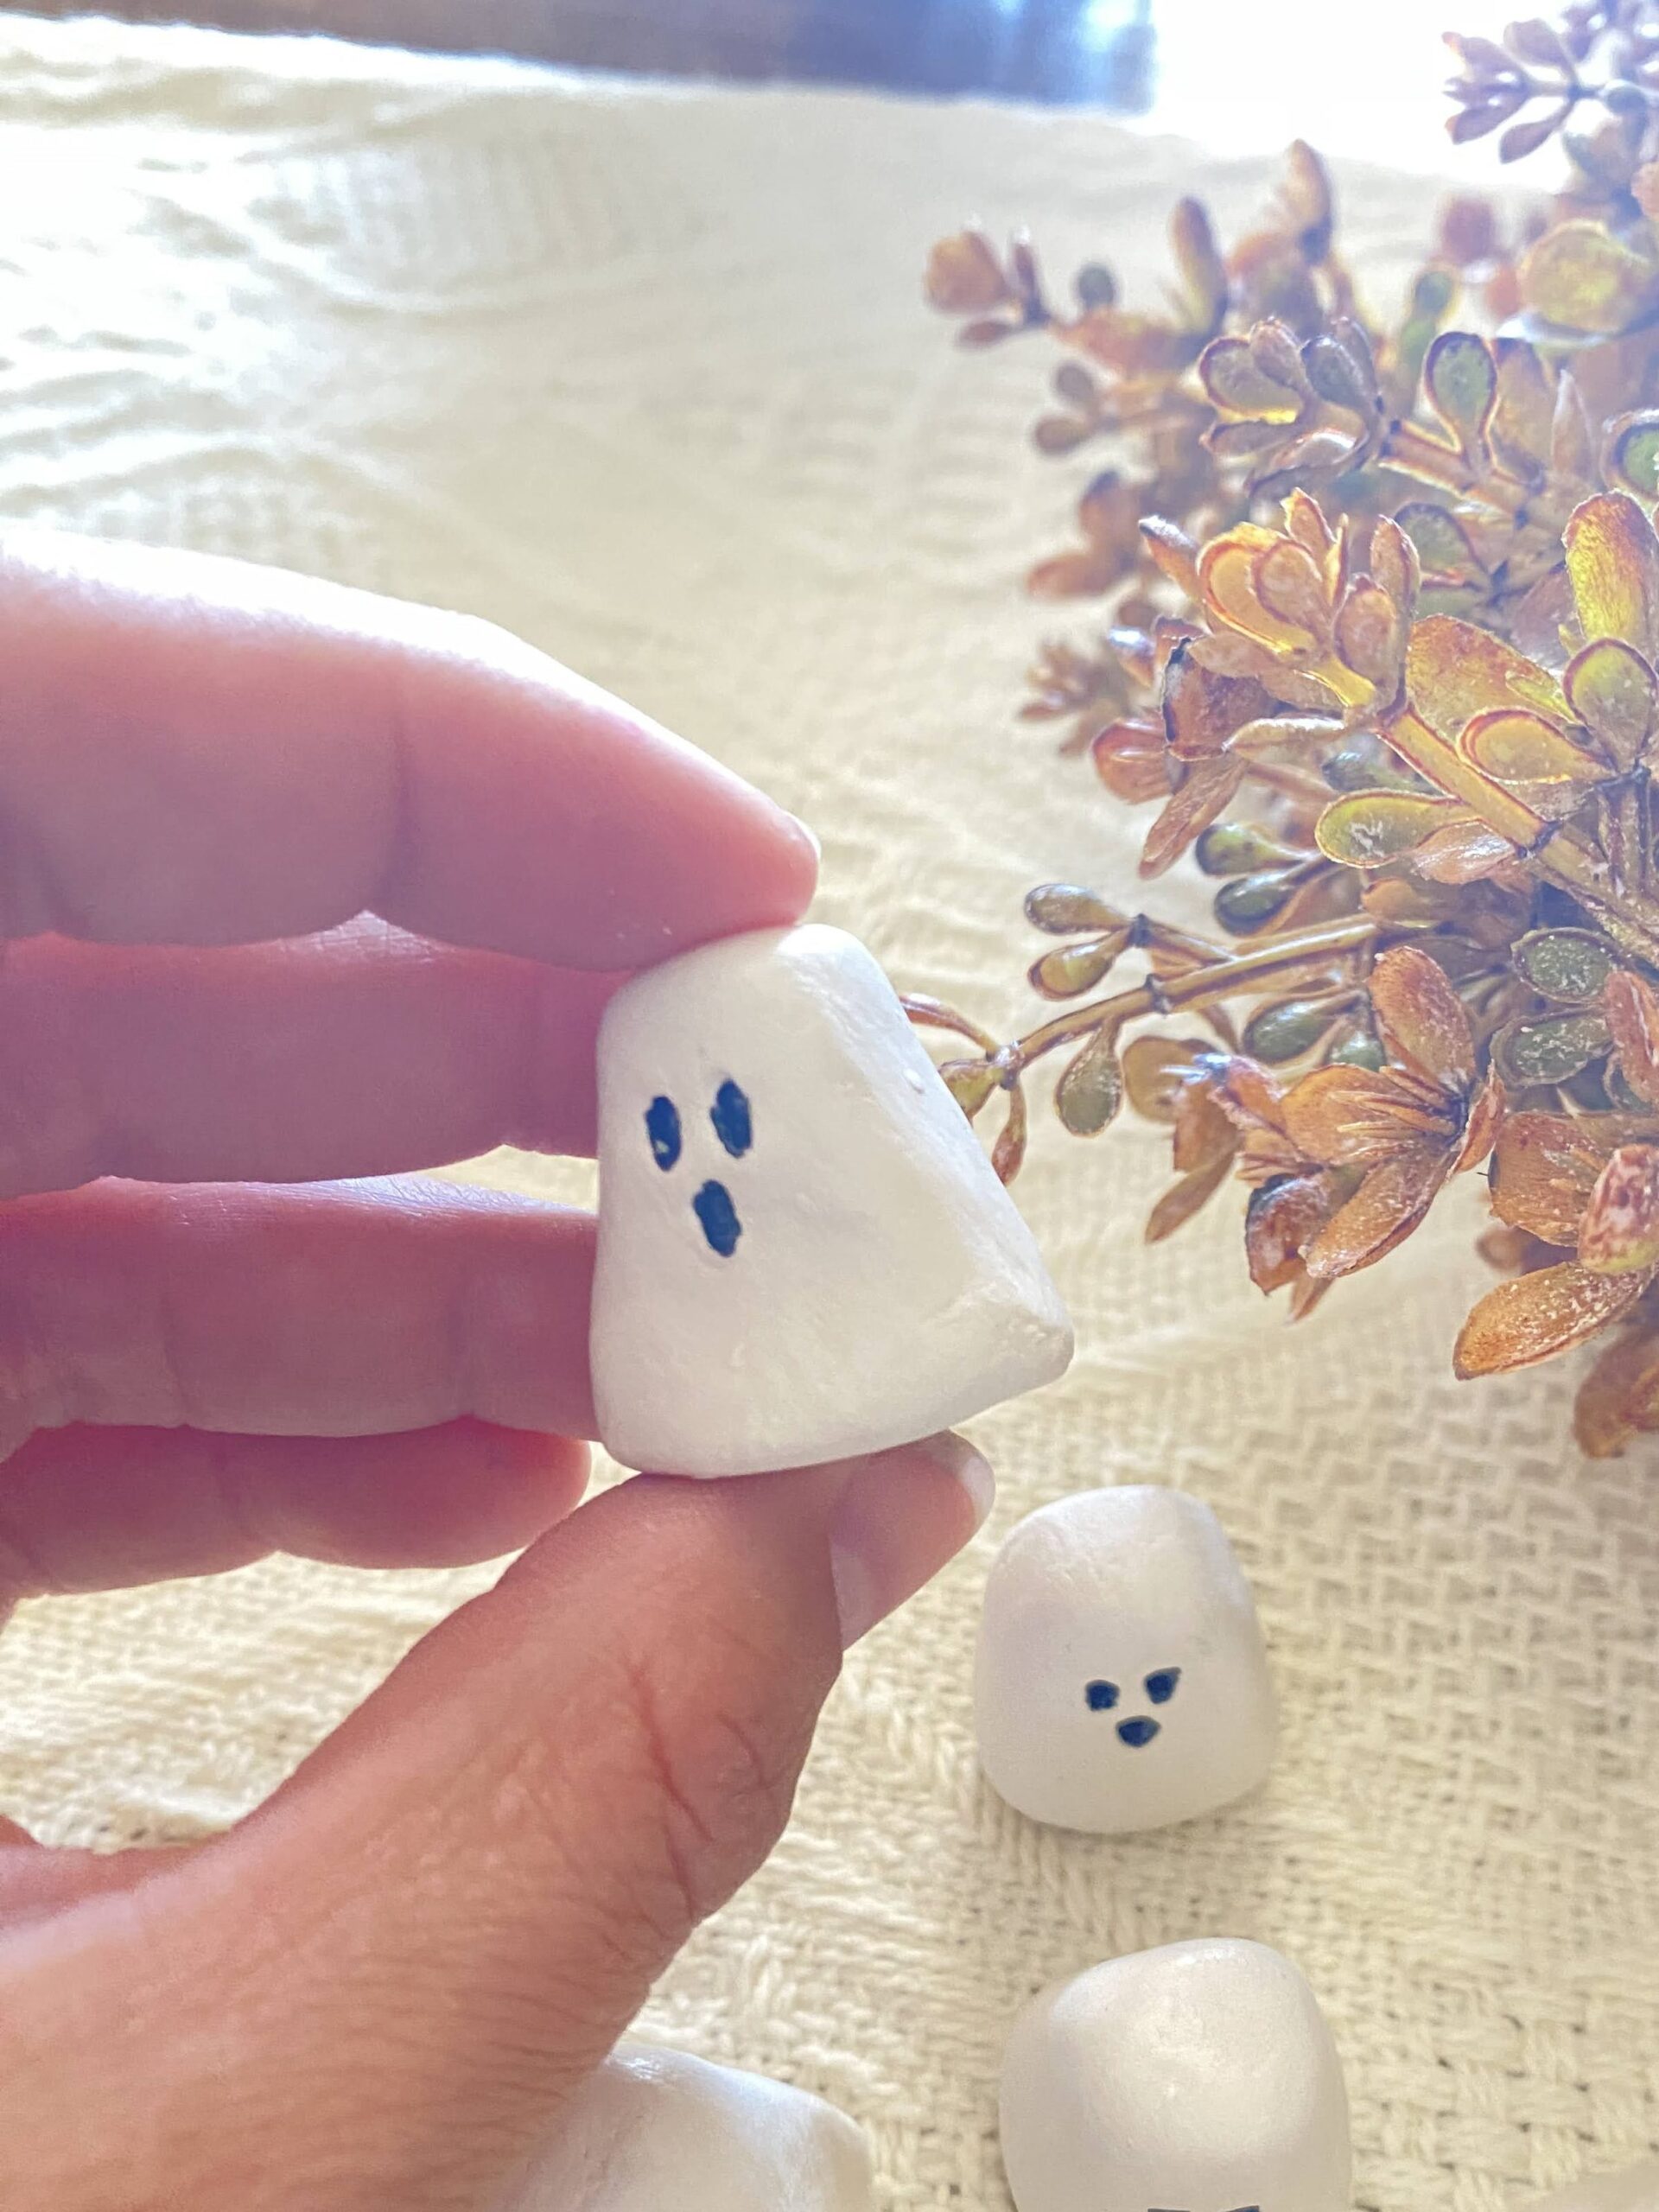
1️⃣ Ghosties – Perfect for fall decor or spooky fun!
Supplies: Clay of your choice, black paint or marker, small point to make eyes, sealer (optional).
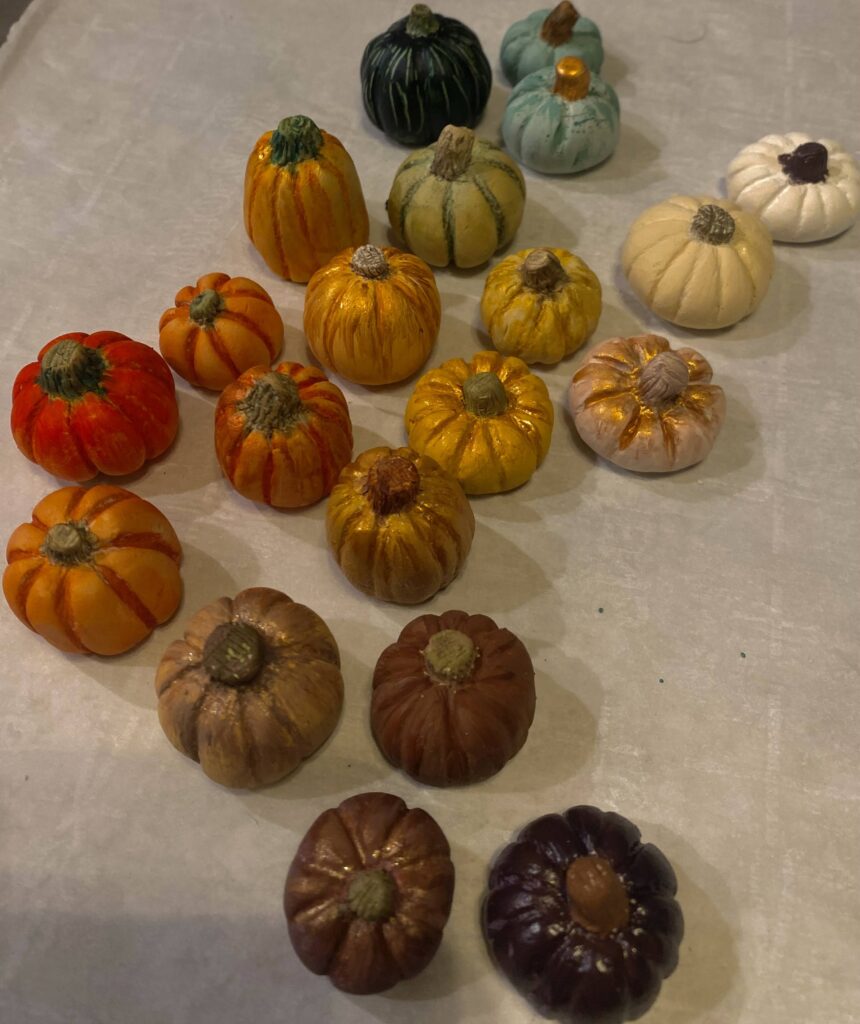
Another great fall one to try are mini pumpkins, but they are not as easy as the ghosties.


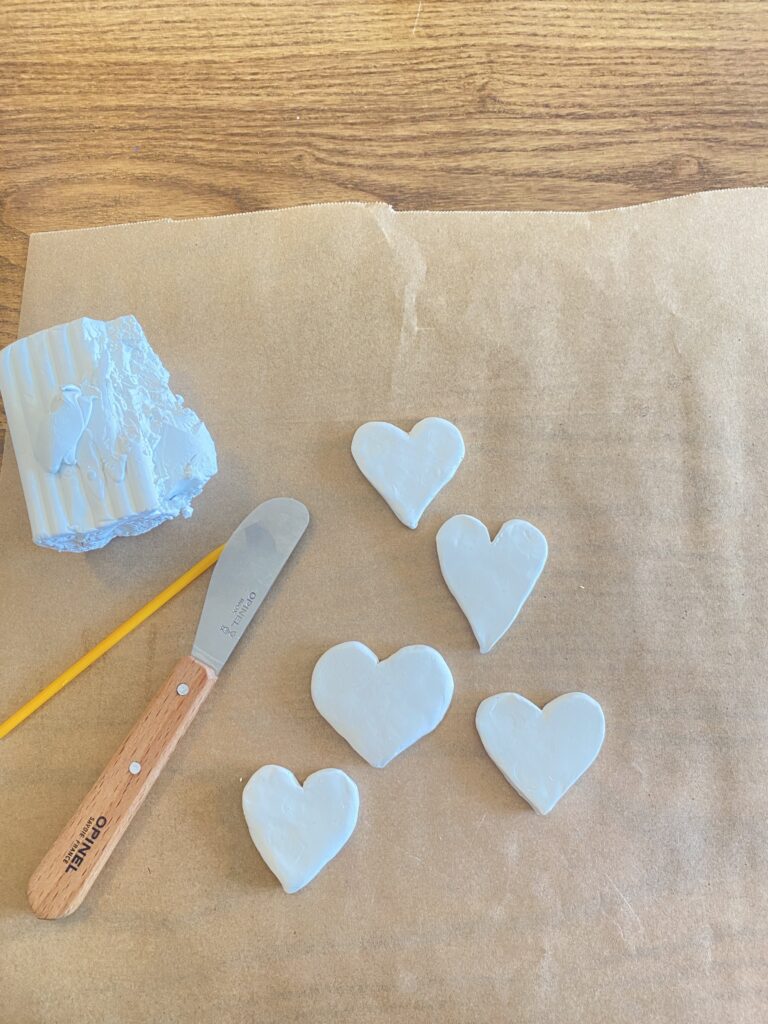
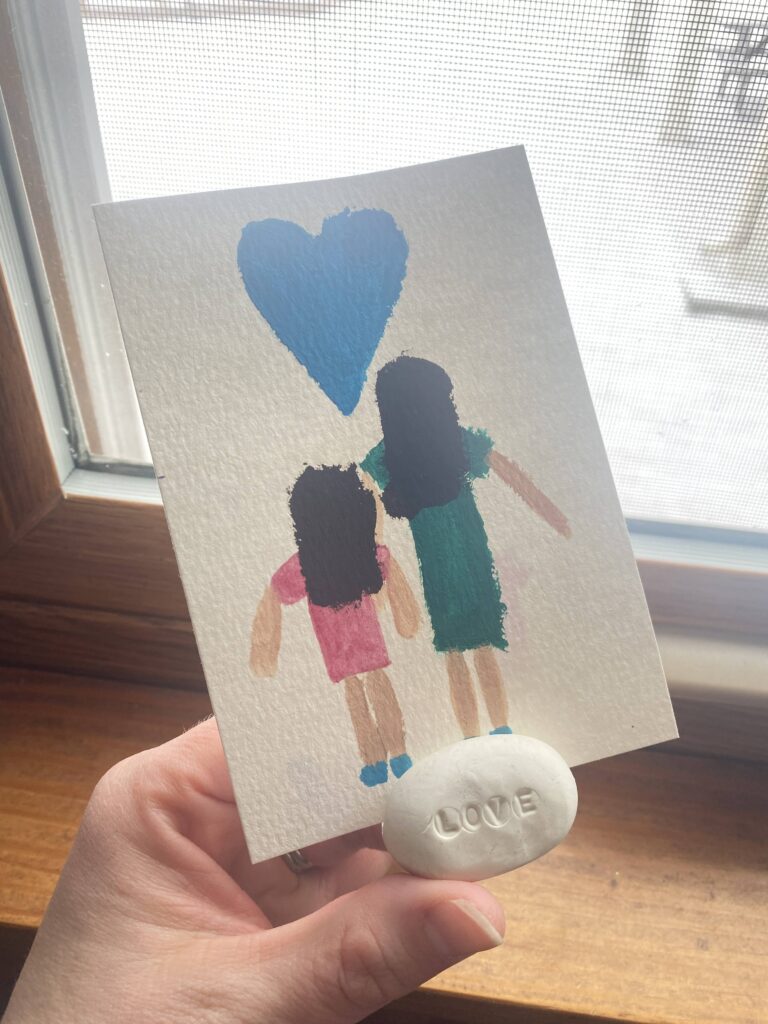
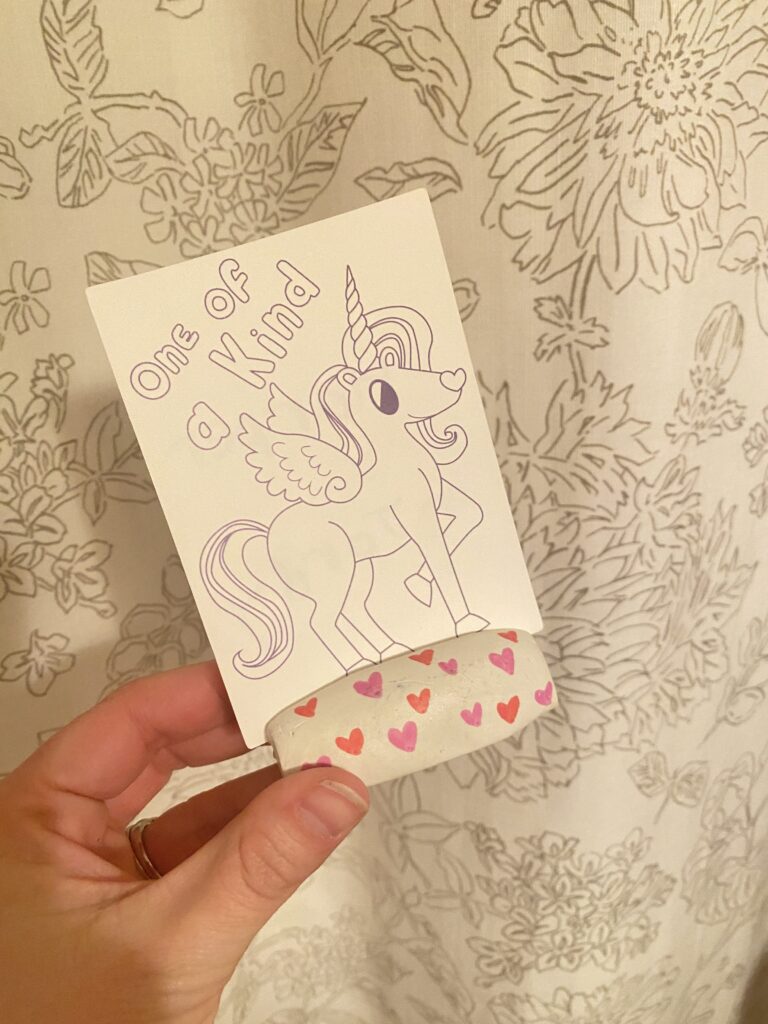
2️⃣ Picture Holders – Endless shape and design possibilities.
Supplies: Clay of your choice, knife to make slit, paint or Sharpie markers to decorate, sealer (optional).
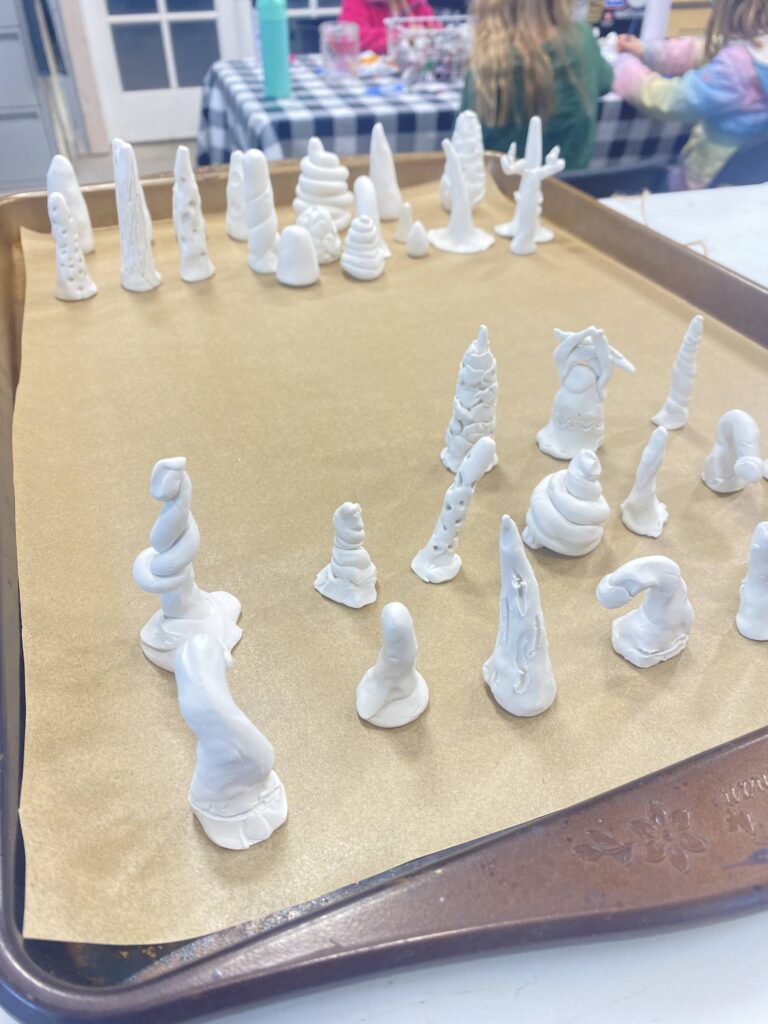
3️⃣ Trees – Great for seasonal decorating or fairy garden scenes.
Supplies: Clay of your choice, tools for texture, paint or Sharpie paint markers.
I had to share this picture to show all the shapes and designs the kiddos come up with!
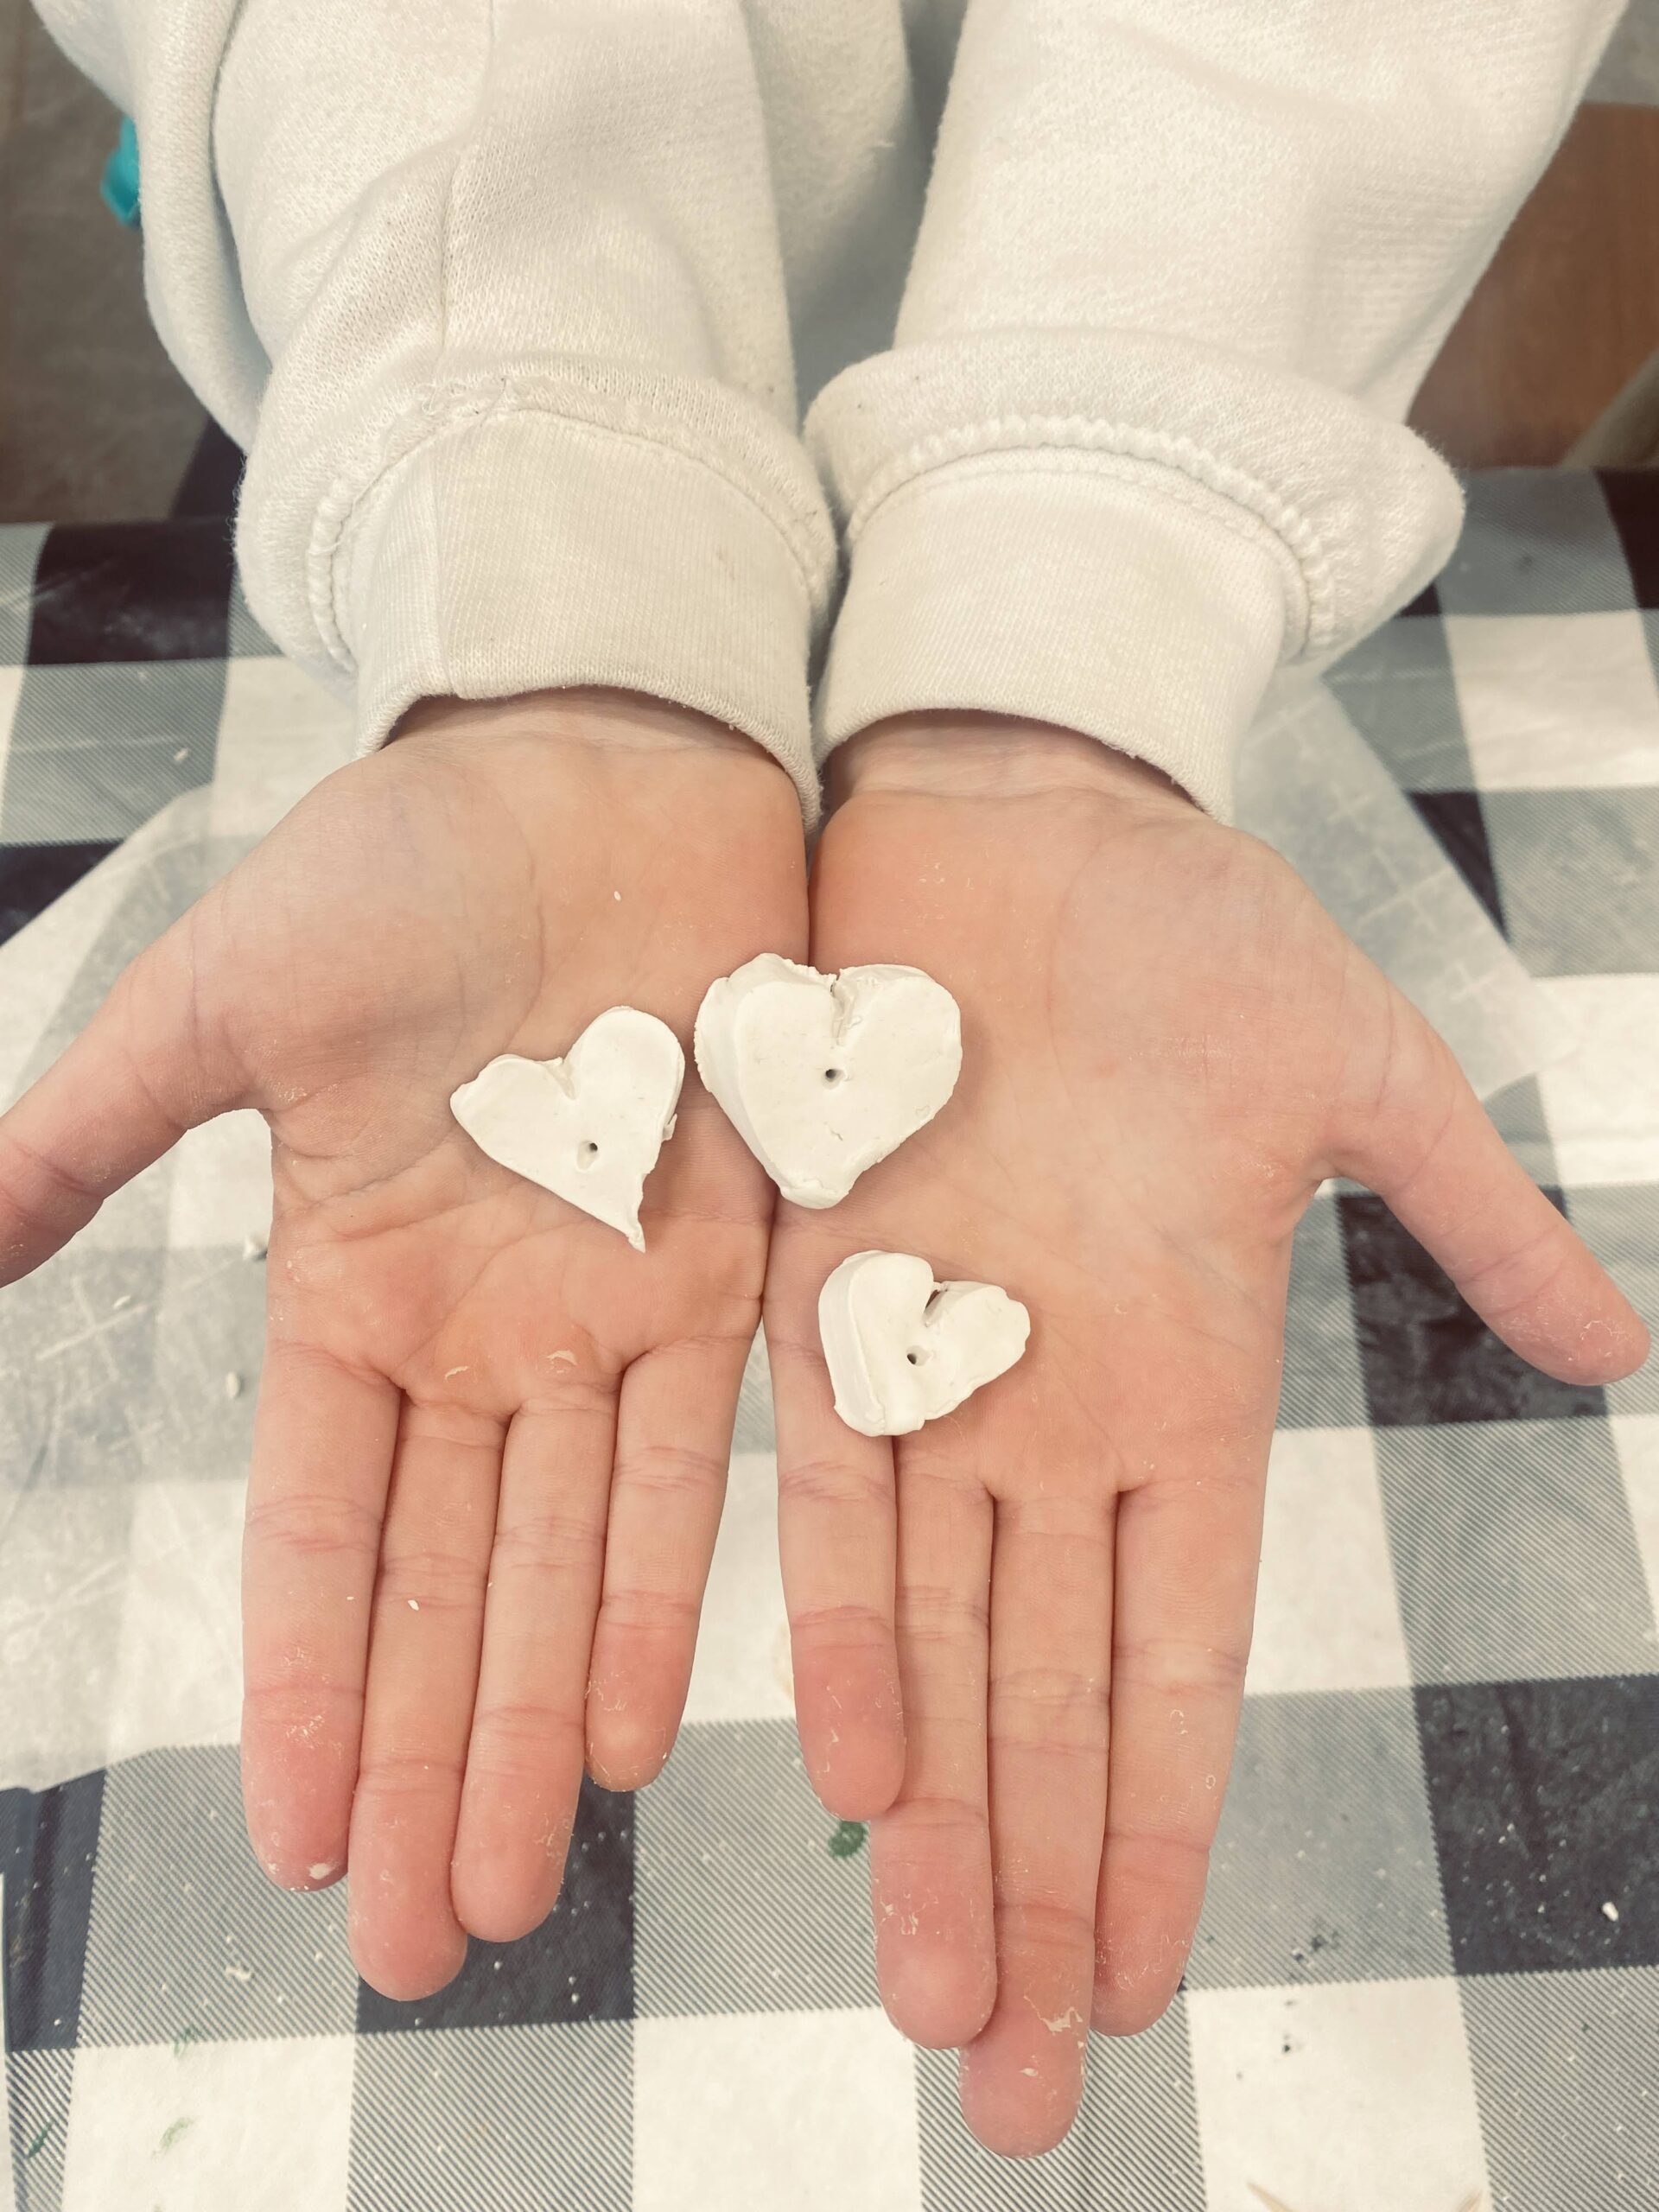
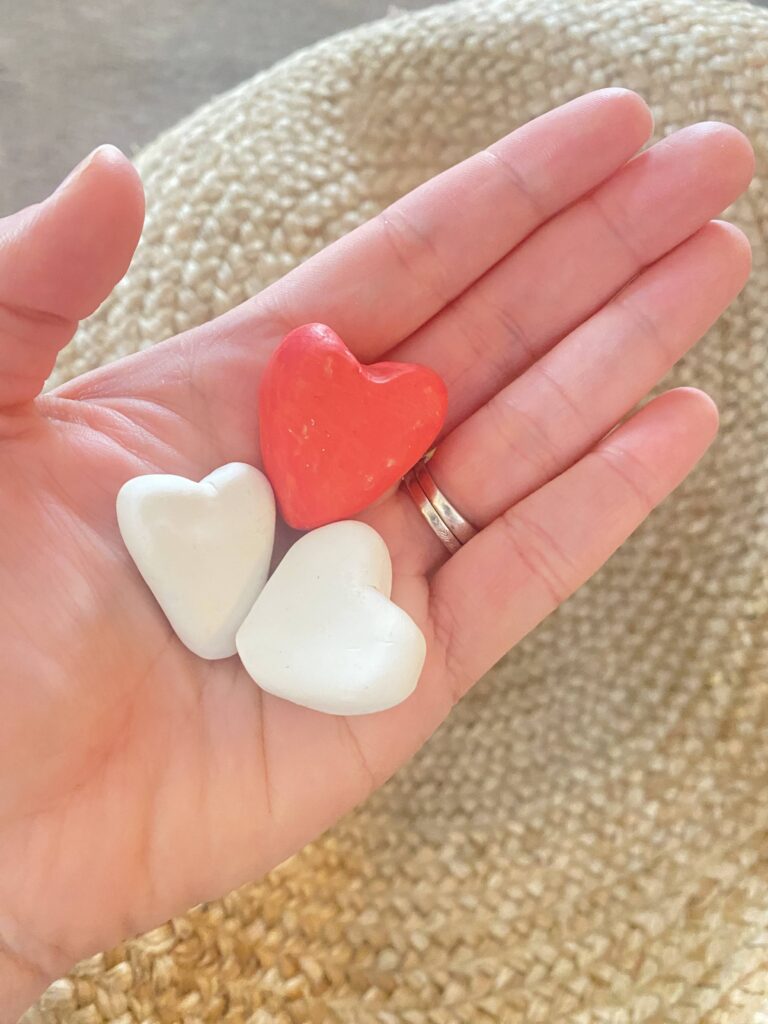
4️⃣ Hearts – Simple, sweet, and fun for all ages.
Supplies: Clay of your choice, paint or Sharpie paint markers, sealer (optional).
So fun to scatter about the house or leave for friends and family.
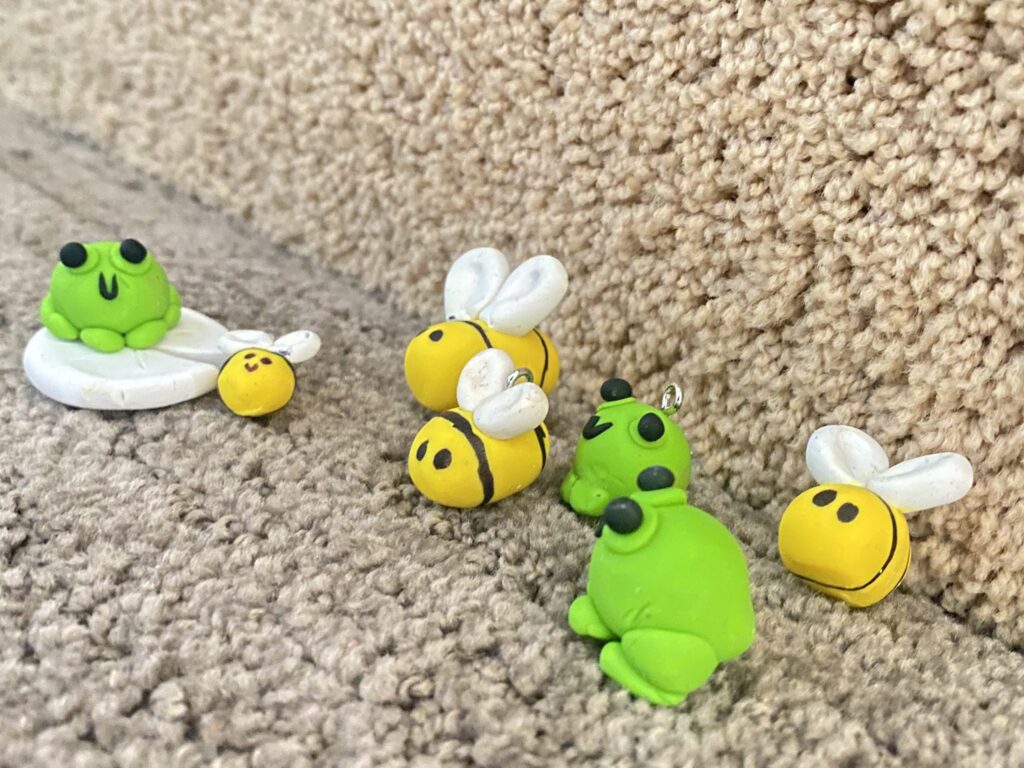
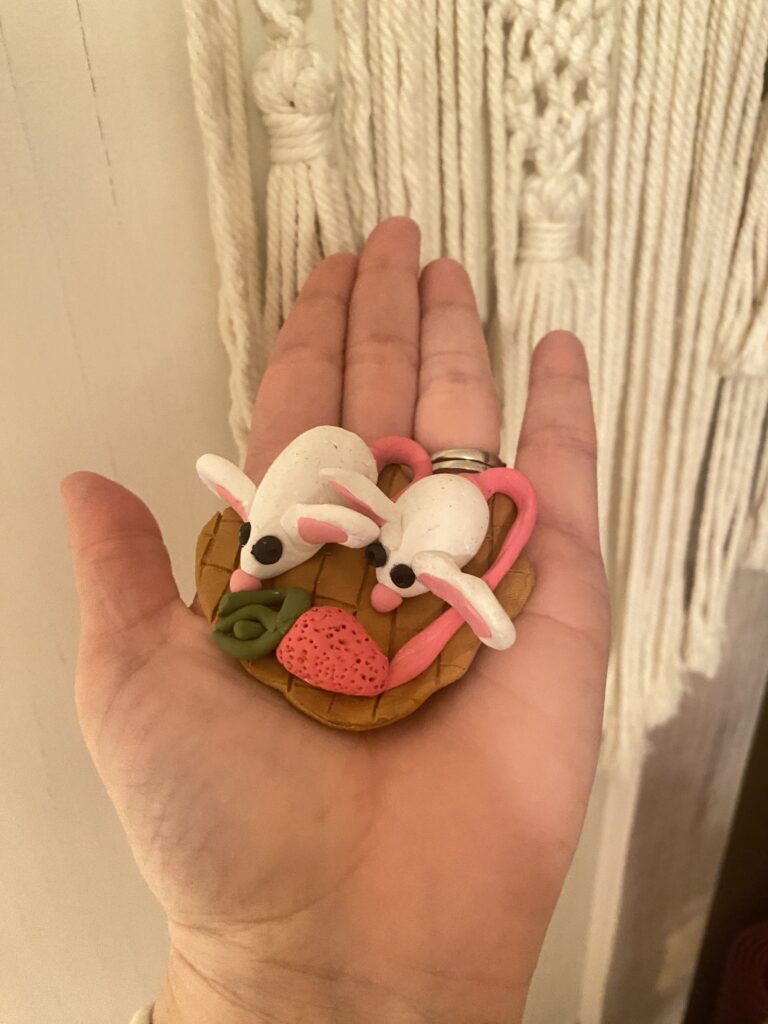
5️⃣ Bees & Frogs – These little guys are always a hit!
Supplies: I recommend Sculpey clay for these little ones, it holds better to the shapes and connection the different pieces. You can use white and color and paint later, or they have a great color pack. Paint or markers if making from white clay.
Clay is such a versatile and fun medium, whether you’re creating solo or crafting with a group. What’s your favorite clay project? Let me know in the comments!
💡 Looking for more creative inspiration?
✨ Stay inspired! Follow along on Instagram & Facebook for more DIYs, Mini Maker fun, and handmade art!


PLEASE COMMENT BELOW