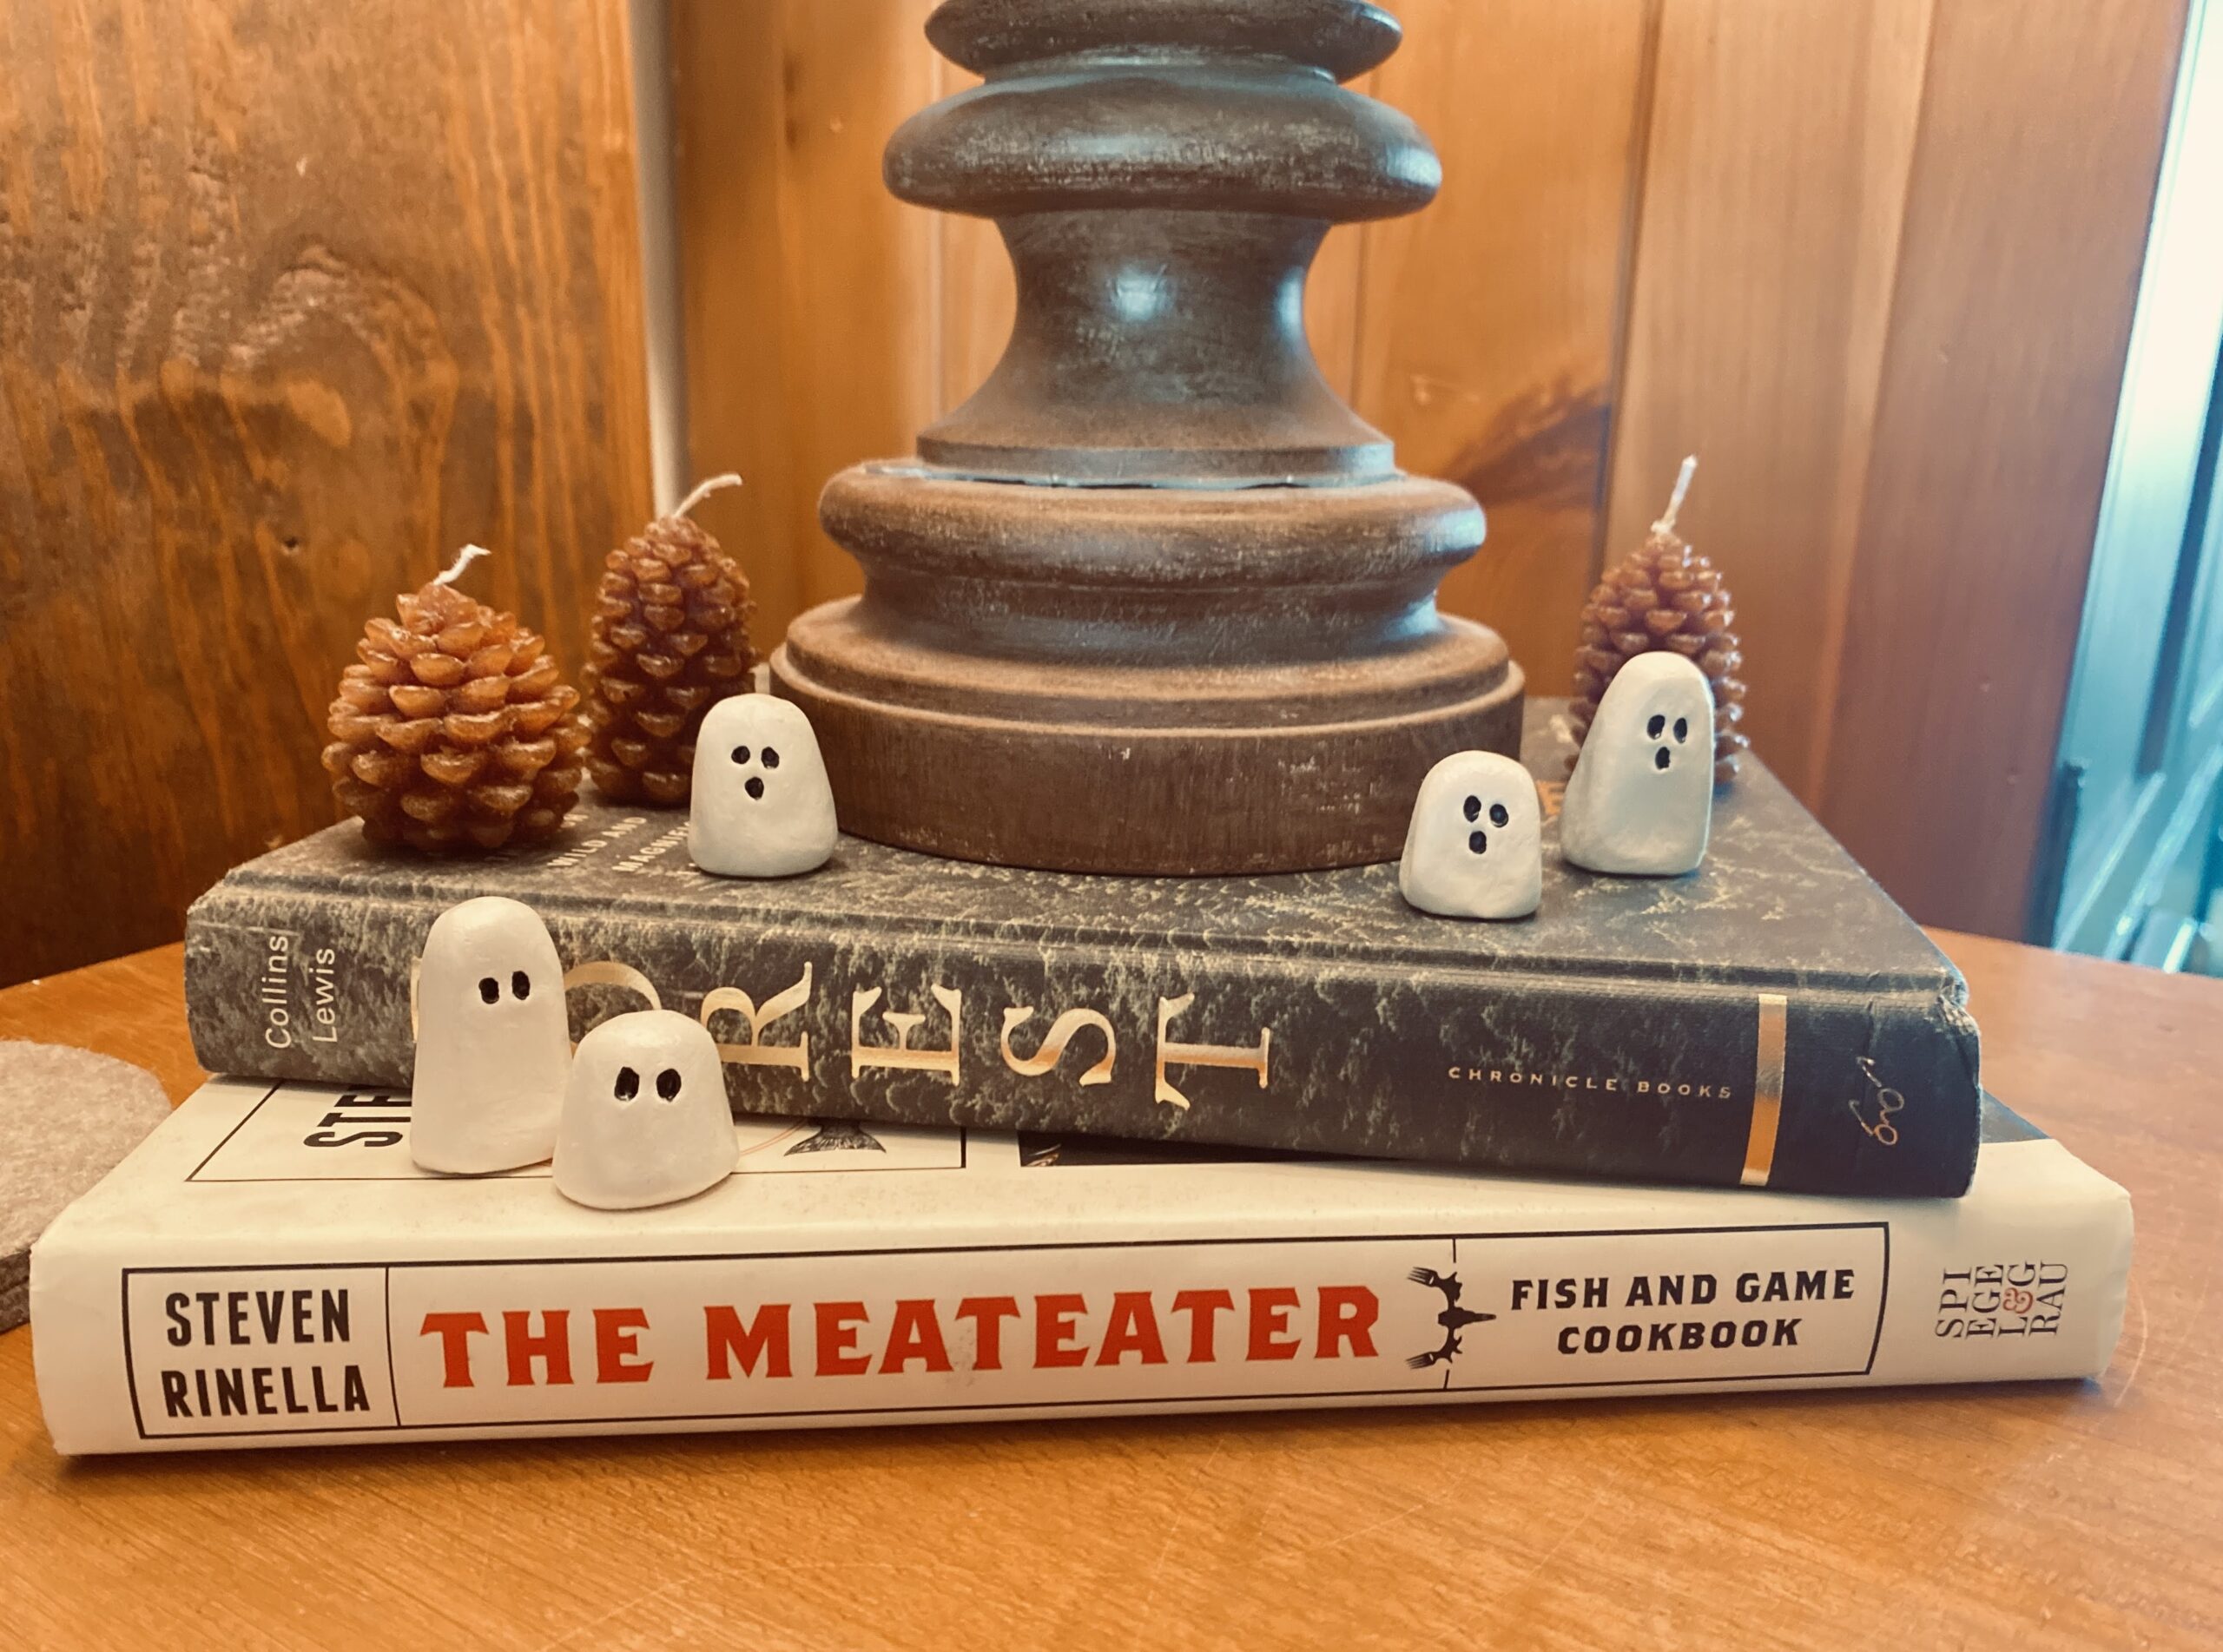
DIY Halloween Decor | Mini Clay Ghost
Hey there! Please note that this post contains affiliate links. If you click through those links and make a purchase, I may earn a little commission - at no cost to you! It is one way that helps me to continue this blog and create inspiring, encouraging and supporting content for you!
October 8, 2024
Time to add Ghosties to your decor!
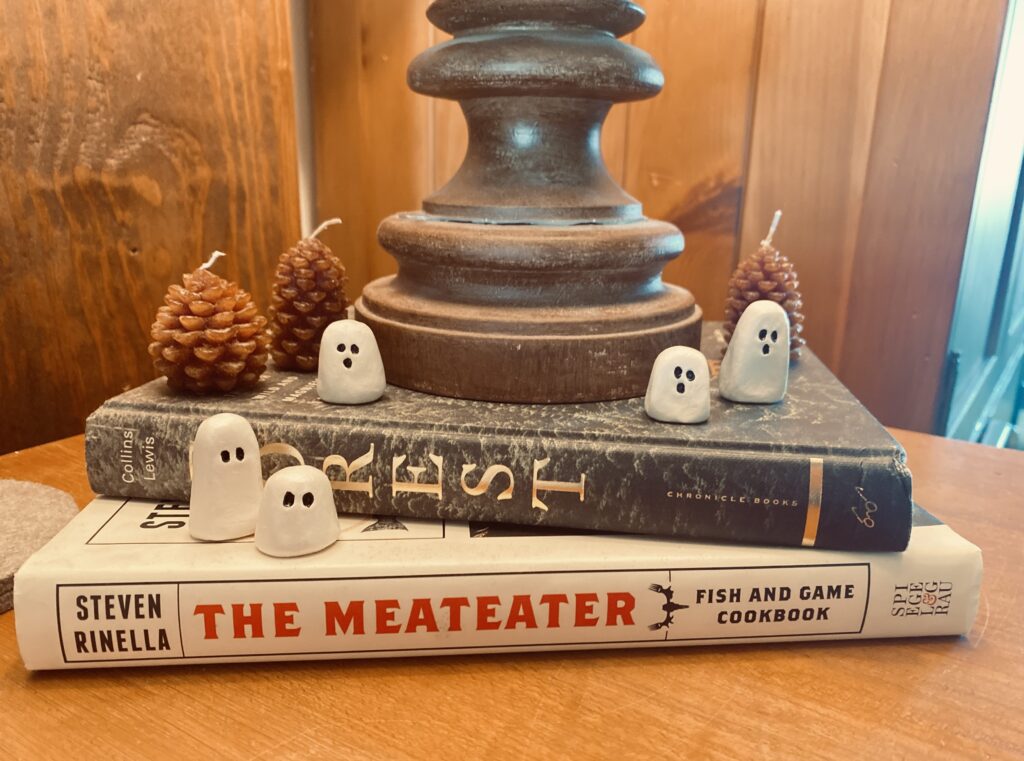
I have never been one to decorate for Halloween. We are more of a cozy fall vibe house. But the kids have been asking for a couple years now if we could. So I was off to figure out Halloween decorations that would ease me into it. While we have tried the tea light ghost, and loved how those turned out, I also fell in love with the idea of mini ones. Which brings us to Ghosties!
This is a great option for kiddos and adults. I have done it on my own, with my kids and with a small group of kids during a Mini Makers Workshop. The kids LOVED this project.
Supplies:
- Air Dry Clay – we used the Crayola Air Dry Clay
- OR White Polymer Clay – we have used this one
- Mechanical pencil or anything to poke the eyes and mouth
- Parchment Paper
- Clay sealer – this is what we have been using, it dries fast and I am liking the finish
- Black Paint – Apple Barrel is always a safe bet if you don’t have any at your house.
- Mini paint brush – so you can get into their small eyes and mouth
- Small paint brush – to paint on the sealer
Time:
This project is easy but will take three sections of time.
- Time to create – 10-30 minutes to make your ghosties and create their face (more or less time depending on how many you do)
- Time to dry – which can be a couple of days for the air dry or an hour for oven drying
- Time to Finish – 10-30 minutes (depending again on how many you make) to paint their eyes and mouth black and then seal them.
Directions
Step 1: Shape your Ghosties
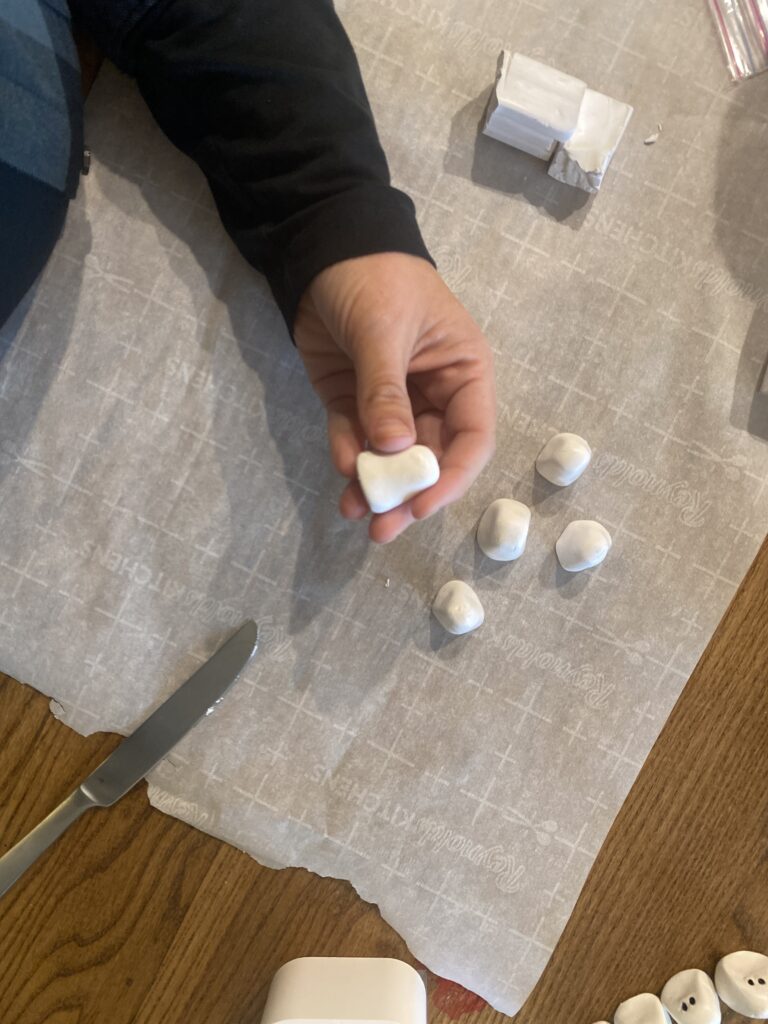
- Cover your baking try with parchment paper. Whether you are air drying or baking the tray helps to easier move them around and the parchment not only helps with baking, it also helps keep your work space clean adn easy to roll, shape and set your ghosties on.
- Pull sections of clay apart to create into your ghost shapes. The possibilities are endless. keeping in mind the thicker they are, the longer to dry.
Step 2 : Add Eyes and Mouth
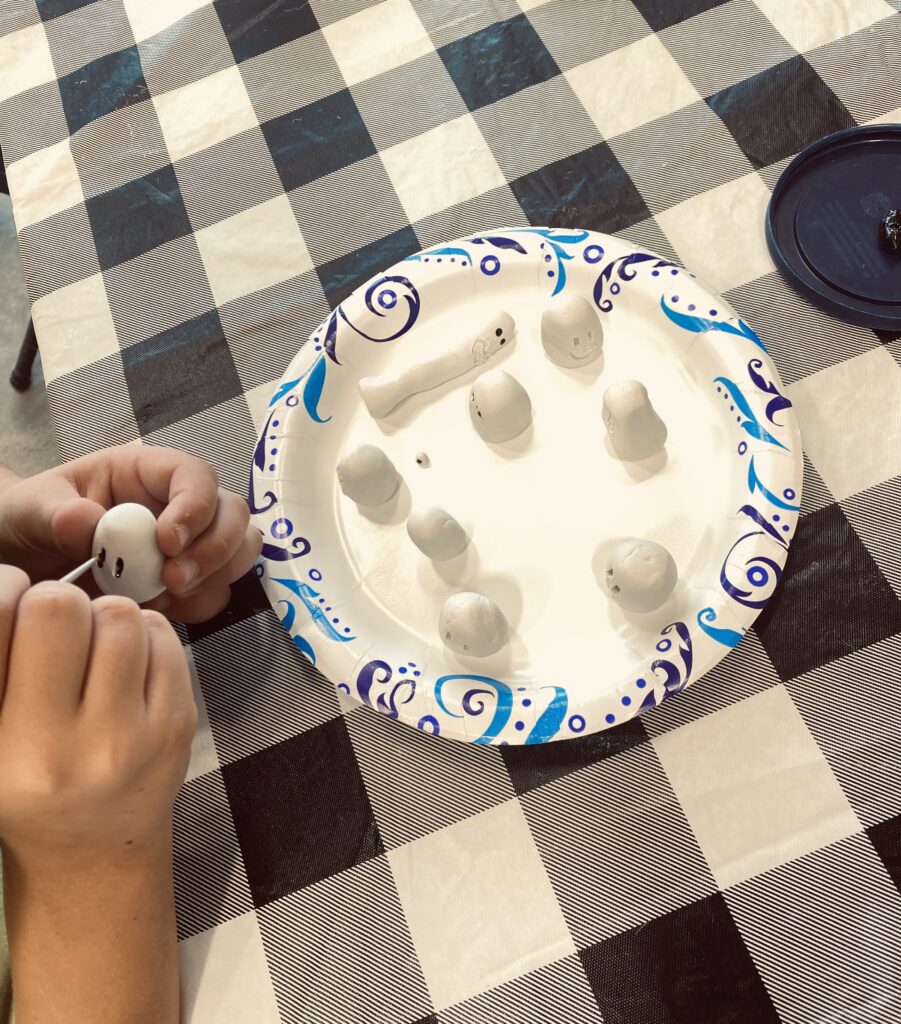
- Add eyes and a mouth to your ghosts, I do a mix, some with a mouth, some without. It is fun to see the kids create different types of faces on theirs. Try not to poke too far into your clay, because you have to come back and paint the eyes and mouth. I found the tip of a mechanical pencil to work great. It is slightly rounded and gives a good depth stop. I poke the pencil in, then pull down and up slightly to make oval shapes.
Step 3: Drying
- Now it is time to dry these cuties
- Remember they will be hot when they come out, so let them cool a bit.
- Air Dry – leave them out for a day or two, length is dependent on the thickness of the ghosts and the specific drying needs of the clay you are using.
- Oven Dry – follow the directions on the clay you selected but I have found for both the Crayola air dry and the Polymer clay I have used, 200 for 60 minutes seems to do the trick.
A collection of ghosties heading into the oven to dry, from my Mini Makers Workshop
Step 4: Finishing Touches
- Once they are dry and cooled, it is time to add their eyes and mouth. Using a tiny paint brush and black paint. Add black to their eyes and mouth. You will see now why it is important to make sure the hole are not too deep.
- Once done, using a slightly larger paint brush coat the whole ghost with clay sealer. This is optional. I liked the finish is gives the clay and seals it nicely in the case it gets wet or dirty, you can easily wipe it off.
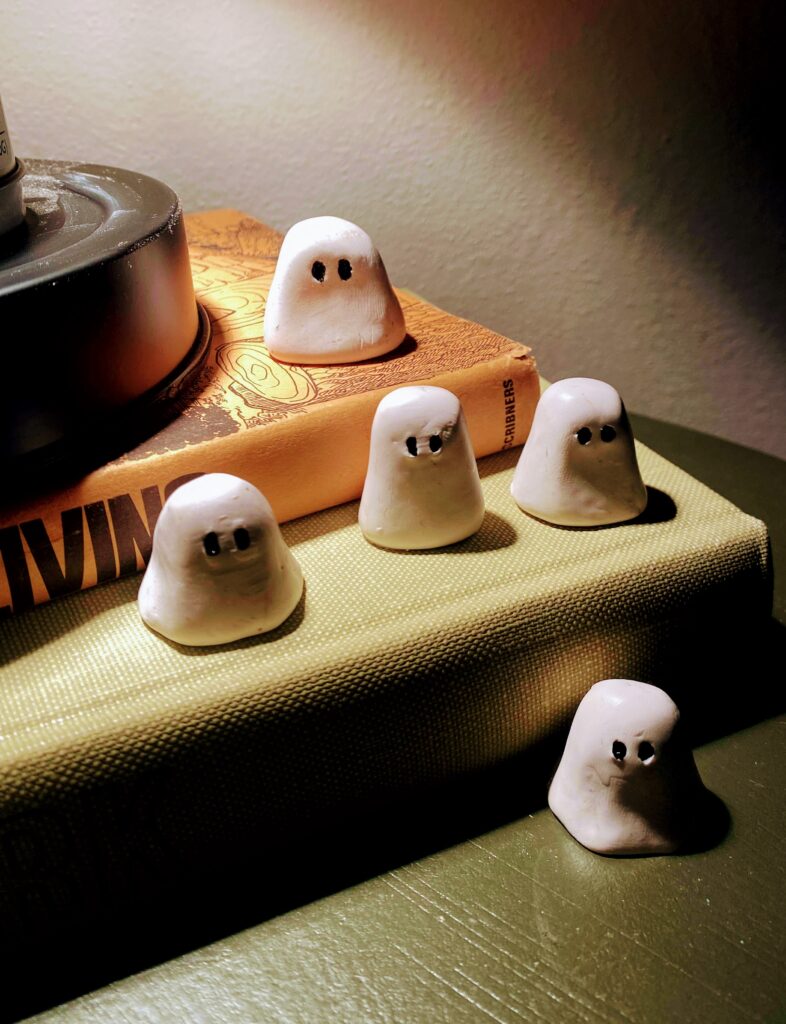
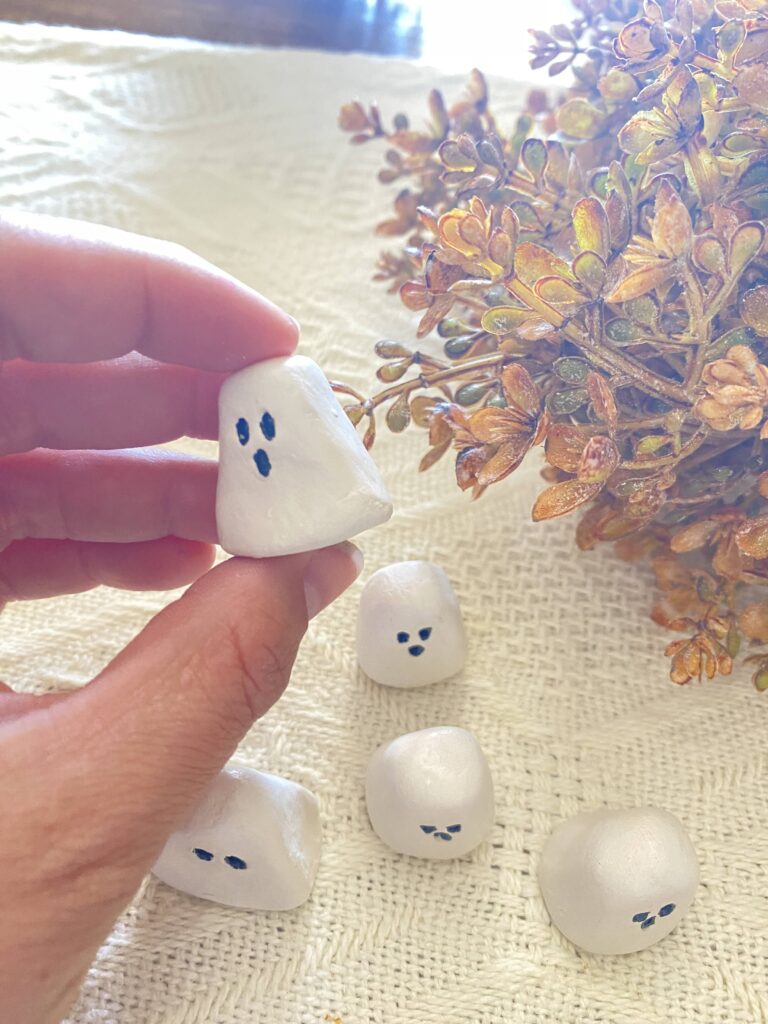
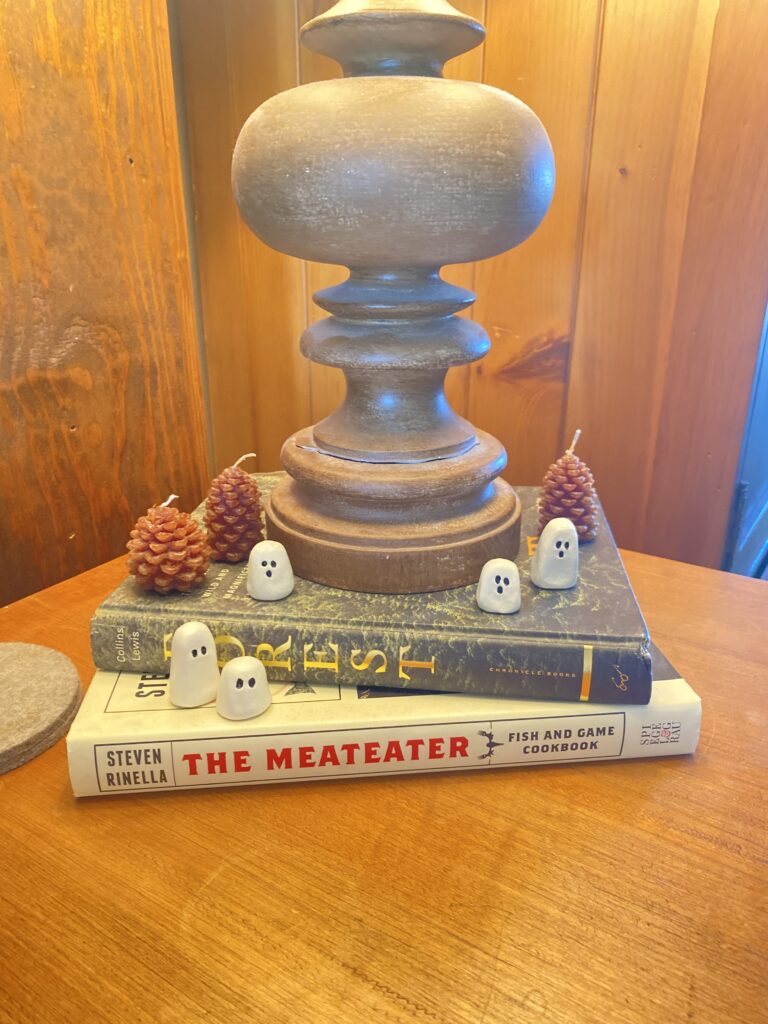
And there you have it! The cutest little collection of ghosties to add to your Halloween decor. They also make great hand made gifts. As mentioned earlier I did this project with a group of 2nd-5th graders and they loved it, here are some of their final products displayed! (making my heart smile)
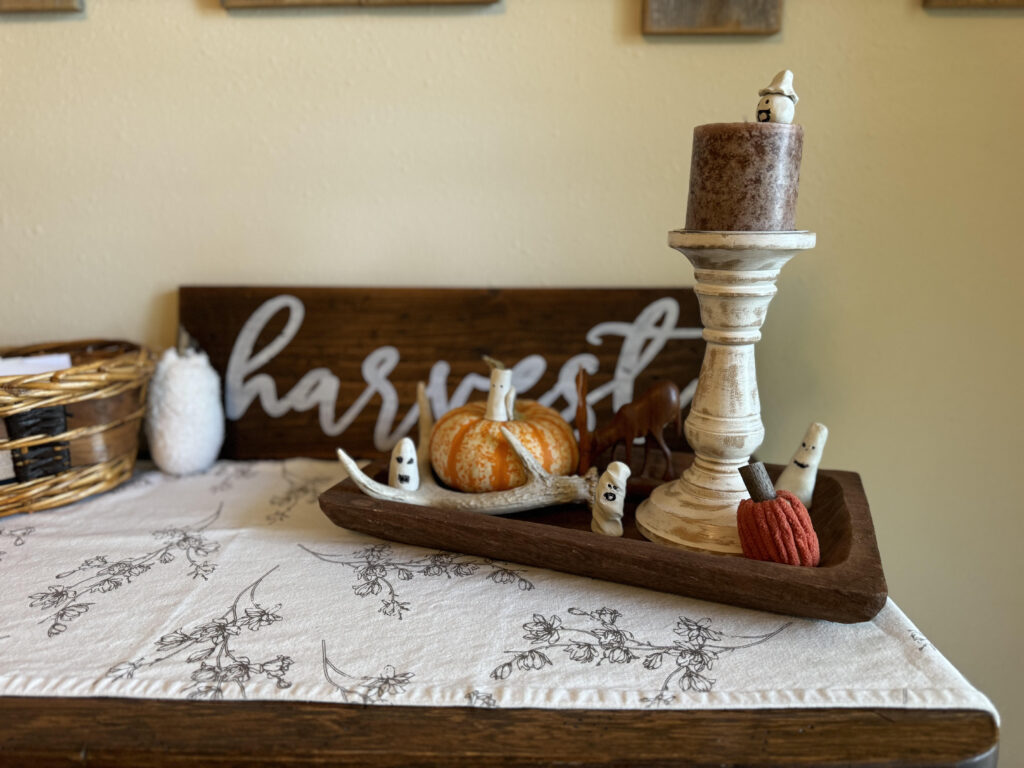
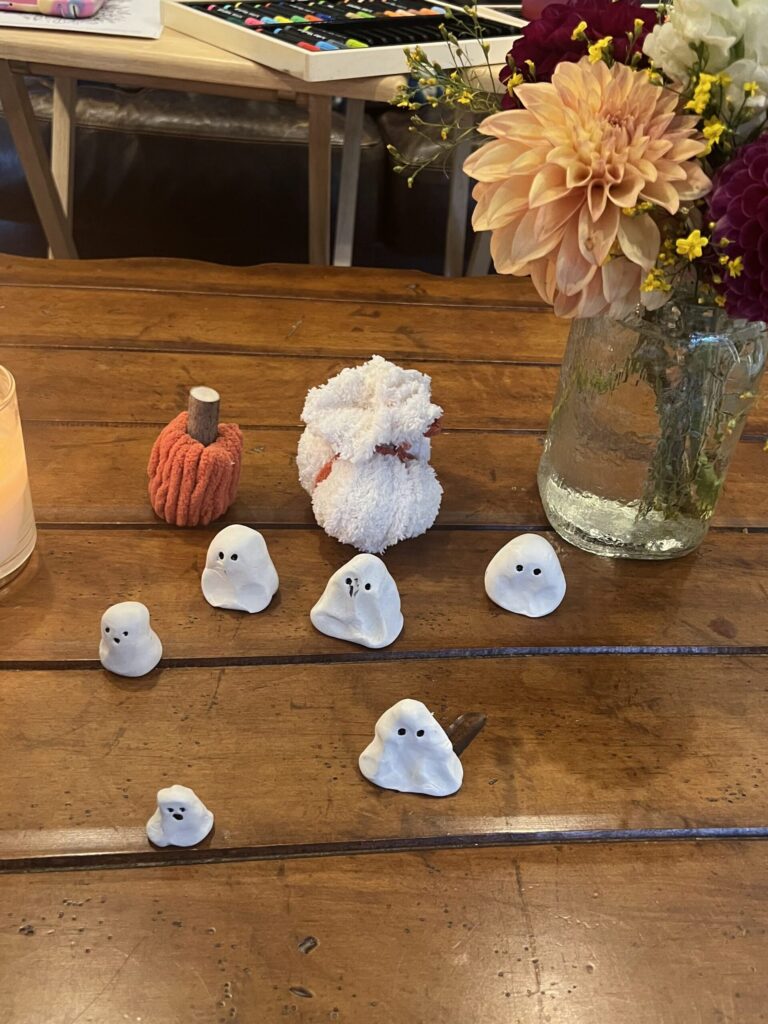
So what do you think? Will you be adding these ghosties to your Halloween decor?
PLEASE COMMENT BELOW